Sewing Beaver badges is easier than it sounds, and every Beaver Scout should know how to do it right. Here is a step-by-step guide on how to sew Beaver badges and in what order so that you can be proud of yourself.
Let’s start with the proper placement of badges.
Beaver badges sewing placement
Membership Award
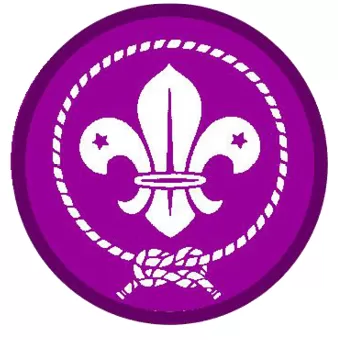
Sew it this badge onto the left breast of the shirt. That badge is worn by every member of the Scout Association as soon as they have made a formal promise.
Joining In Award
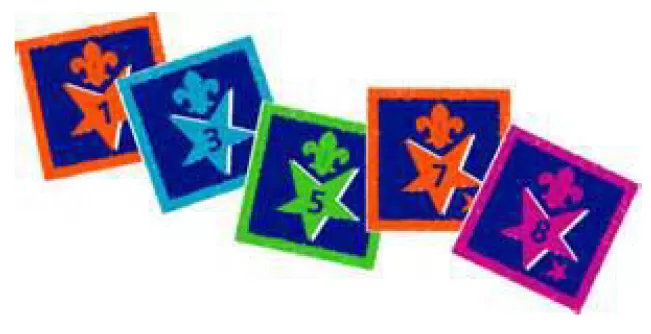
Sew this badge above the Membership badge on the left breast. Every Joining In Award is placed next to the badge preceding it to form a row.
Joining In Award badges awarded each year a Beaver remains a member, which continues throughout their scouting journey.
Royal Navy Recognition Award
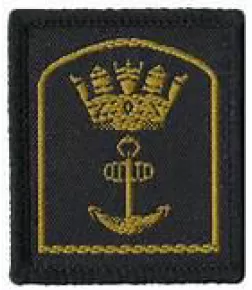
Sew this badge on the right breast of the shirt. Royal Navy Recognition Award badge is awarded to Royal Navy Recognized Sea Scout groups that meet as well as maintain the standards required to be Royal Navy recognized.
The UK has 101 recognized groups. Gibraltar is No. 101, while the 36th EFS Sea Scout Group is No. 16.
Group Name Tape

Sew this badge is sewn onto the upper right arm below the Scout logo. This is a badge that every member of the 36th EFS Sea Scout Group wears.
County or District Badge
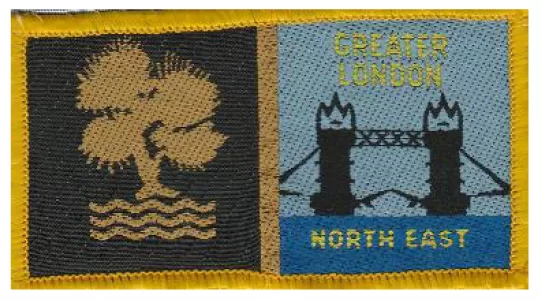
Sew this badge onto the right arm below the Group Name Tape. This is a badge that every member of the Epping Forest South District wears.
Lodge Leader Stripe
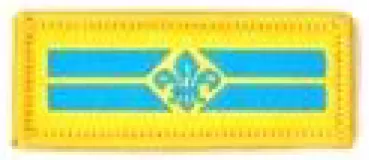
Sew this badge on the right arm below the county or district badge. The badge is awarded to Beavers that are promoted to Lodge Leader.
Challenge Awards
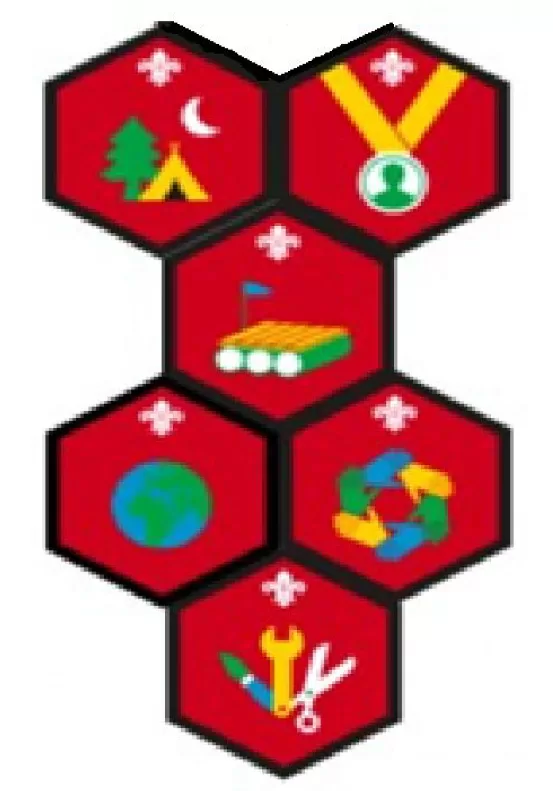
Sew this award on the right breast of the shirt to form a pattern shown below (in no particular order).
Beavers are awarded these badges during their time within the colony. A badge is awarded as soon as the Beaver achieves the criteria associated with the badge. There are 6 Challenge Awards in Beavers.
Chief Scouts Bronze Award
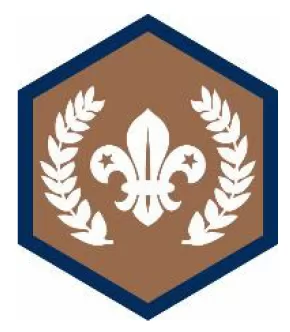
Sew this badge directly above the Challenge Awards.
Chief Scouts Bronze Award is the highest that a Beaver can earn. The badge is awarded when the Beaver has earned all 6 Challenge Awards and Staged Activity or four Activity awards.
Activity Awards
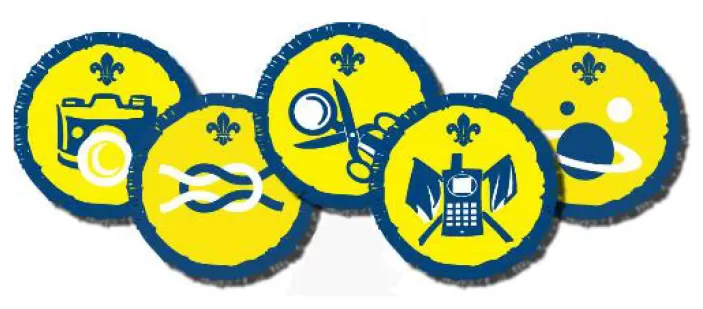
Sew these awards on the arm (the left-hand side), and the order doesn’t matter. These are the badges awarded to Beavers once they have achieved the criteria associated with each badge. There are lots of these to collect.
Staged Activity Awards
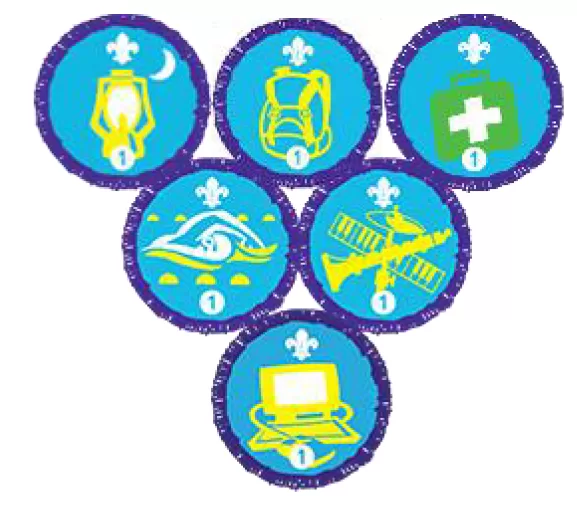
These are sewn with the Activity Awards on the left arm (in no particular order). When a higher-level award has superseded a Staged Activity Award, it will need to be removed.
Staged Activity Awards are awarded to Beavers, and every section wears them.
These commence after achieving Level One of an activity and then progress to more advanced levels during their scouting years.
GLNE Buddy Award
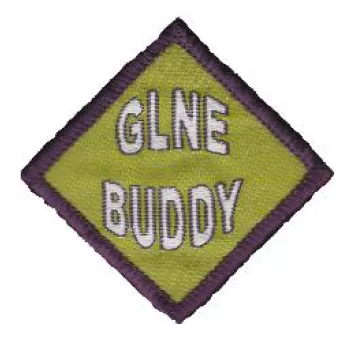
Sew this badge onto the right cuff of the uniform’s sleeve.
This is one of the special Greater London North East County badges awarded to Beavers looking after new beavers for two meetings or more.
Occasional Badges

Sew these badges on the upper left front of the shirt (for a limited period, usually 12 months). After this period, the badge will need to be removed.
These are special badges that are awarded to celebrate significant events. These can include an anniversary at the district, county, national, or Group Level that may only be relevant to particular sections.
Sewing Beaver badges step-by-step
Before sewing badges, the uniform should be washed, dried, and ironed. If the uniform is new, wash it and dry it before you sew on any badges. Otherwise, the material might bunch up unevenly beneath the patch when you wash and dry it again.
Most of the Beaver uniforms are made from cotton. Cotton usually shrinks a bit when you wash it for the first time. If the patches are sewn onto the uniform before the first was, the material beneath the badge will pull and shrink under the patch, causing it to bunch up.

It is also recommended to iron the shirt where you plan to place the badge before you start sewing. Ironing removes wrinkles; if a patch is sewn over one or more wrinkles, you will permanently wrinkle the uniform.
Step 1. Prepare your thread and sewing needle
The thread’s color should match the edges of the badge or the shirt. If you cannot find a matching thread color go for a darker color or a color that matches as closely as possible.
Darker thread is better than lighter since it will blend in better. You can also use a clear thread that will look less visible. Put the uniform on and then attach the badge using a safety pin. That will ensure the patch is in the correct position.
Take care when wearing a uniform with pins holding the badge in place. Put the uniform on carefully to stop the pins from poking you. It is crucial to examine how the patch fits since your body will fill the garment out, which could affect how the badge looks.
Step 2. Secure the patch into place so that you can sew it
Use a straight pin or safety pin to secure the badge in place. You can also use fabric adhesive tape and then iron your patch on.
Even when the patch is not an iron-on, it is still recommended to buy ironing adhesive tape. This tape is typically a better option than the pins since it will ensure the badge is in place while you are sewing, and that also does away with sewing around the pins and pricking yourself.
Cut the tape and place it. Position the badge over the tape, followed by ironing it. If you are not ironing the patch, the patch will need to be pinned into place.
Step 3. Cut your thread
If you are new to sewing, your thread should be at most 45cm (18 inches). Long pieces are prone to get tangled and are more challenging to manage than shorter ones. The other option is to leave the thread on a spool, which will also help stop the thread from tangling. This also ensures that your thread won’t run out or that you need to re-thread your needle.
Once you have threaded your needle, secure a knot on one end of your thread. It isn’t easy to thread a needle, but you can use a needle-threading tool to save time. If you don’t have one of these tools, wet the thread and twist it. That will help to keep the small strands together, allowing you to get the thread through the eye.
Step 4. Start threading your needle through the patch and the fabric
Start from inside your shirt, guiding the needle out so it eventually passes through the patch. It is important to start from inside the shirt, so your knot doesn’t show from the outside. Guide the needle from the inside until the needle comes out.
Step 5. Use a straight-stitch pattern to sew
Run your needle through the fabric about 6mm (1/4″) from where it came out.
For a patch, the straight stitch will be the quickest and easiest method for sewing patches. The stitching pattern doesn’t need to be complicated, especially when you have already ironed the patch.
Straight stitch is also less visible.
Step 6. Continue to stitch the patch
Continue with the straight stitch pattern until you have gone around the entire patch, ending up where you originally started.
When you hand sew a badge onto your uniform, take the time and effort to ensure the weaves and stitch lengths are all to each other. Maintaining an even pattern will make sure your patch looks a lot better.
Step 7. Knot the thread
Once you have finished sewing around the edges of your patch, loop your thread and then pull your needle through, which will tie the knot off. To finish the patch, your needle must be threaded through to create a small loop inside the uniform. Pass the needle through your loop, and then pull your thread tight. That will make a secure and tight knot.
Step 8. Cut off the thread’s ends
Cut away any threads that hang below the knot. Leave about 1cm (1/2″) of the thread. Leaving behind a bit will ensure you do not accidentally cut the knot. Tuck this thread under your patch.
Frequently Asked Questions
What do beavers wear?
The Beaver uniform includes a sweatshirt (blue) with sewn-on badges and a colored ‘necker” or scarf” representing a local group. Other accessories, such as hoodies, hats, and navy blue shorts or trousers, are also optional.
What is the importance of the uniform?
The Beaver uniform is both practical and comfortable. It also offers a way to run around, get messy, and enjoy yourself without worrying about messing up your everyday clothes. It can also help you to feel like you belong to a team. With a uniform, no one will feel left out or uncomfortable. Your shirt also provides the perfect spot to display the badges you will earn.
Where to buy the uniform?
You can purchase your uniform from our shop online – Scout Store – or from a supplier in your local area. Ask an adult volunteer to advise you where and what to buy if you need clarification.

