Satin is easily recognizable thanks to its sheen and woven appearance. Though available in synthetic options for affordability, most satin fabrics are derived from silk. Usually, robes, formal wear, theater costumes, and choir robes are sewn from satin fabrics.
Some may use crepe-back satin fabric for more contrast within the same clothing article. This fabric has the characteristic sheen on the front, while the back has a crinkled texture that adds interest to an outfit.
In this article, you will learn how to choose the right sewing machine needle when working with satin and tips on how to treat this fantastic fabric in your sewing process.
Working with the right needle on the satin
Satin is an unforgiving fabric that shows snags and needle marks. Ideally, you start every new sewing project with a fresh needle, which is vital for satin fabrics! That isn’t a step to skimp on with this fragile fabric type, as it will show significant snagging.
Most importantly, once the snagging starts, there’s no way to remedy the situation, which is why it’s crucial to prepare for the fragility of the fabric ahead of time.
Make sure that you switch out your needle when working with different fabrics. Thin needles are necessary when working with delicate fabrics where the weave is easily compromised. Employing the use of the correct needle will eliminate snags and puckering.
Standard needles are ideal for satin sewing, but an even smaller needle is perfect! With satin, it’s wise to avoid heavy-duty ones that leave behind large holes.
Thick needles are great for certain fabric types but never appropriate for satin. Not only do they make large unsightly holes, but they also have thick shaft that destroys delicate fabrics.
Always employ the use of the correct size and type of needle. Satin requires a sharp needle, which is why a size 80/12 or 90/14 is recommended. As satin is prone to snagging, a sharp new needle is necessary at the start of every sewing project.
Pair the right needle with a thin thread. Having the correct thread weight avoids the dreaded puckering, broken threads, and bulky seams.

Not all needles are the same
Ballpoint needles, for example, have a blunt ballpoint at the end, allowing for the simple sewing of jersey knit fabrics. On the other hand, leather needles feature a cutting point that helps pierce the sturdy material.
Schmetz is the most highly recommended brand for hobbyists and sewists everywhere. They have a specialty line of needles to accommodate a variety of fabrics ranging from vinyl and metallic to knit fabrics. What makes each needle different is the point at the end.
Employing specialty needles ensures that the sewing project has a professional finish with even tension. Finding the right needle for every project is a worthy investment!
Needles don’t last forever!
Make it a point to track the length of time you’ve used a particular needle. That is something that few novice sewing enthusiasts think about, but it’s worth considering!
Needles tend to dull and cause fabric damage once they end their lifespans. Besides getting the correct-sized needle, changing it to a fresh one at the beginning of every project is a good habit.
Needles will wear out at different speeds based on their size, quality, and the type of fabric being sewn. For example, heavier fabric types destroy needles much faster than delicately woven textiles. It’s usually safe to sew thin fabrics for up to 12 hours; thicker fabrics usually wear a needle out in 6 to 8 hours.
Prepping and caring for satin
Unfortunately, satin is prone to snagging due to the floating threads within its construction. Hand-washing satin is highly recommended to remain on the safe side. However, if the fabric needs to be washed in a machine, it’s crucial to use the most delicate cycle possible without harsh laundry detergents.
Snags in the fabric are often inevitable, but sometimes it is possible to coax the thread back into the fabric’s weave. That is done by gently stroking the thread back into the formation or using the endpoint of a pin or a needle.
Satin is also easily scorched and stained; as such, it requires a press cloth barrier when being pressed. A seam roller is a useful device that can gently press the folds of the fabric open. Meanwhile, if you regularly sew delicate fabrics, it’s highly recommended that you invest in a steamer.
Setting Up A Sewing Machine To Handle Satin
- The tension setting must be perfect on your machine, as satin will pucker. It’s best to use a small strip or a scrap of satin to test the tension.
- Satin generally does pretty well with a zig-zag or straight stitch.
- The ideal stitch length for sewing satin is between 3mm and 4mm.

Marking and cutting satin fabrics
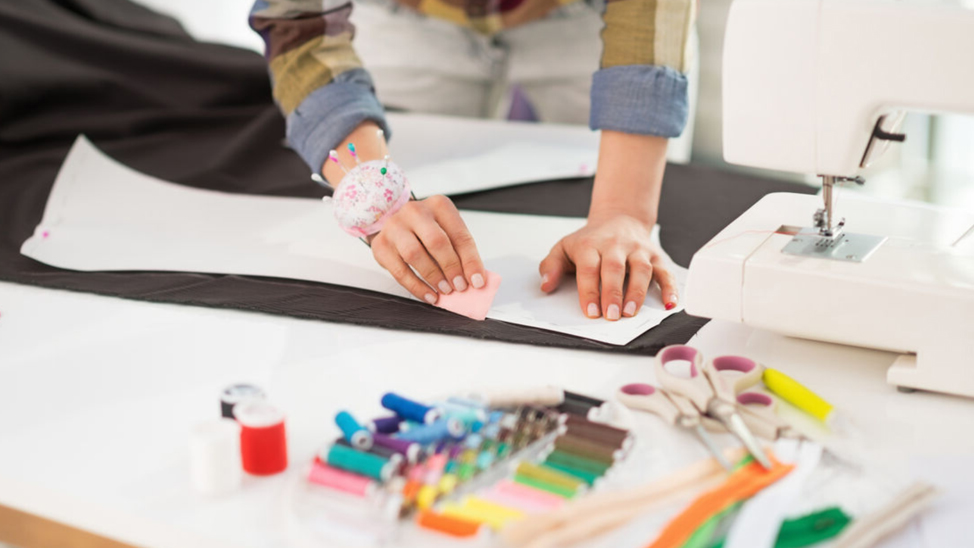
Double-sided fabrics such as satin make it somewhat hard to tell which is the right side. When you do find the right side, make sure to mark it in some manner.
On the same note, properly fold the fabric and ensure that the edges meet evenly to avoid uneven cutting. If the fabric keeps slipping, lay a piece of tissue paper on your table and place the satin on top for stability.
Satin is notorious for easily showing needle marks, so using pattern weights is recommended. If you must use pins, make sure only to use them where the seam allowances are.
Always use a dressmaker’s pencil or a tailor’s chalk when transferring patterns, as they disappear when the fabric is laundered or pressed. Using sharp shears when cutting satin is also advisable, as it’ll snag otherwise.
Make it a point to avoid any sewing notions meant to wash out. It’s also wise to use sew-in interfacing because the heat of an iron can cause damage. Any notions you use should have the ability to handle the same type of care as the fabric itself.


