
You know that one T-shirt you always reach for? The one that fits just right, works with everything, and feels like it was made for you? Well, why not actually make it for you?
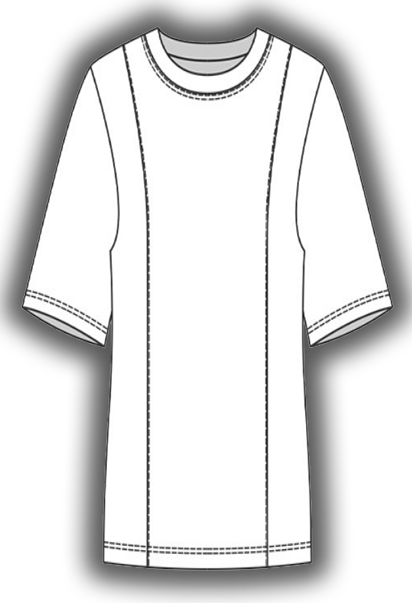
This pattern is the perfect mix of comfy and flattering, with a semi-fitted shape, princess seams in the front for a little extra shaping, and sleeves that hit just above the elbow. The best part? It’s a super satisfying (and surprisingly quick!) sew.
If you’ve never sewn with knits before, don’t stress—I’ll walk you through it. You don’t need a fancy serger, just a regular sewing machine and a little know-how. So grab your favorite knit fabric, thread up your machine, and let’s make a T-shirt you’ll actually love to wear.
FABRIC RECOMMENDATIONS
Let’s talk fabric! The right fabric can make or break a T-shirt, so choosing wisely is key. You want something with a bit of stretch, good shape retention, and not too prone to wrinkling—because who has time to iron a T-shirt?
Here are three great options:
- Cotton Spandex Jersey – A total classic. Soft, breathable, and just the right amount of stretch. It’s great for an everyday tee that holds its shape without feeling too tight.
- Bamboo Knit – If you love a buttery-soft, drapey feel, this one’s for you. It’s a little more fluid than cotton jersey, so expect a slightly looser fit, but it feels amazing to wear.
- Interlock Knit – A little thicker and more stable than jersey, which makes it a dream to sew—no curling edges! Perfect if you want a T-shirt that feels a bit more structured.
And for the neckline? Ribbed knit fabric (ribbing or even a subtle cable knit) is the way to go. It’s stretchy enough to sit nicely around the neck without feeling too tight or too loose.

Once you’ve got your fabric picked out, it’s time to prep your pieces. Let’s get cutting!
MAIN FABRIC:
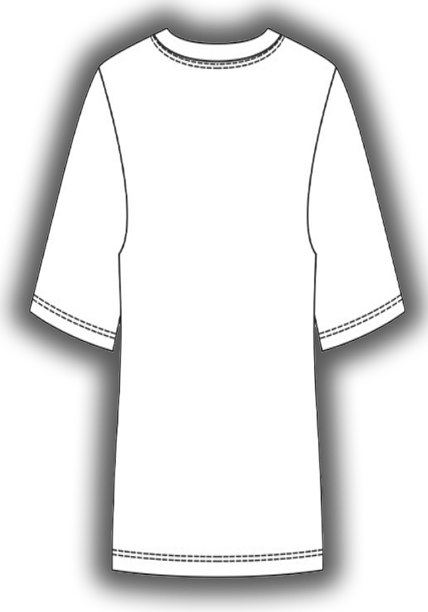
- Back — 1 piece on the fold
- Side front — 2 pieces
- Central front part — 1 piece on the fold
- Sleeve — 2 pieces
RIBBING:
- Neckline binding — 1 piece on the fold
Seam allowances:
All parts of the t-shirt have the necessary seam allowances.
EQUIPMENT AND TOOLS
- Household sewing machine
- 4-thread overlocker
- Iron (with or without steam), ironing board
- Sewing needles appropriate for the fabric type (for knit fabrics, twin needle), pins or small clips for pinning
- Paper scissors and fabric scissors
- Press cloth (net for steam treatment or a piece of cotton fabric)
ADDITIONAL MATERIALS AND ACCESSORIES
- Threads for household machine and overlocker
How To Sew
STEP 1
Cut out the t-shirt pieces according to the pattern.
STEP 2
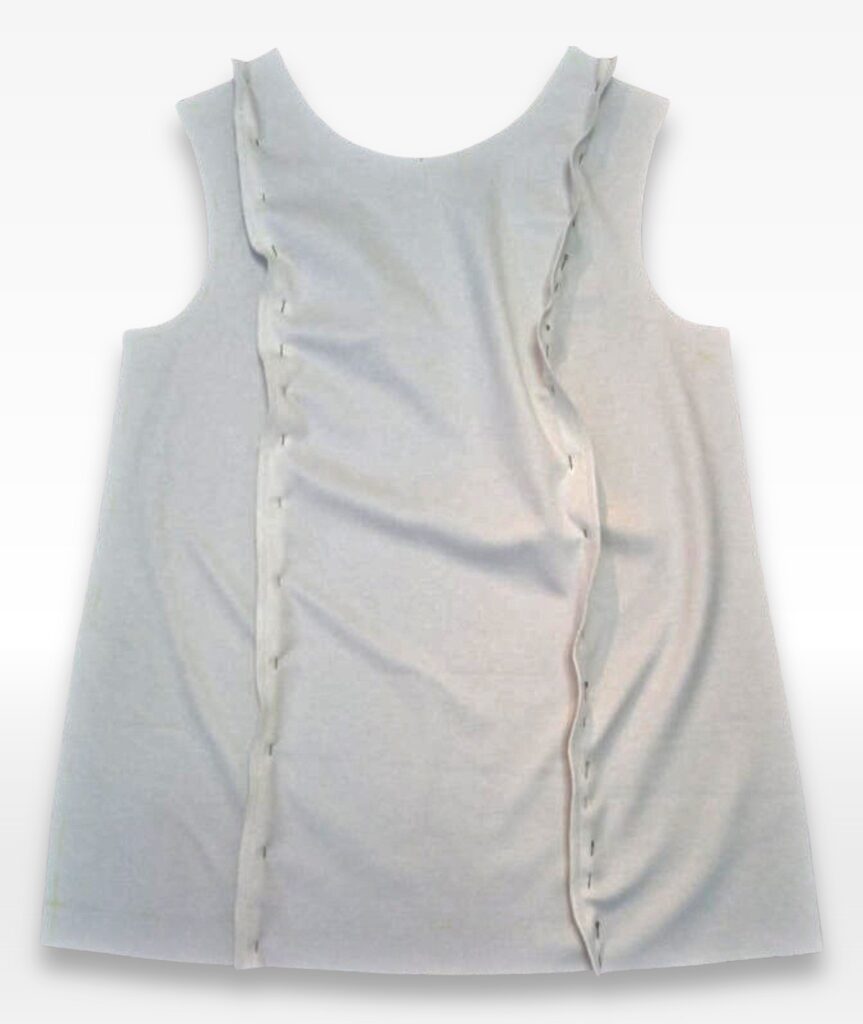
Sew the front pieces together with an overlock stitch.
STEP 3
Press the seam allowances towards the center of the piece.
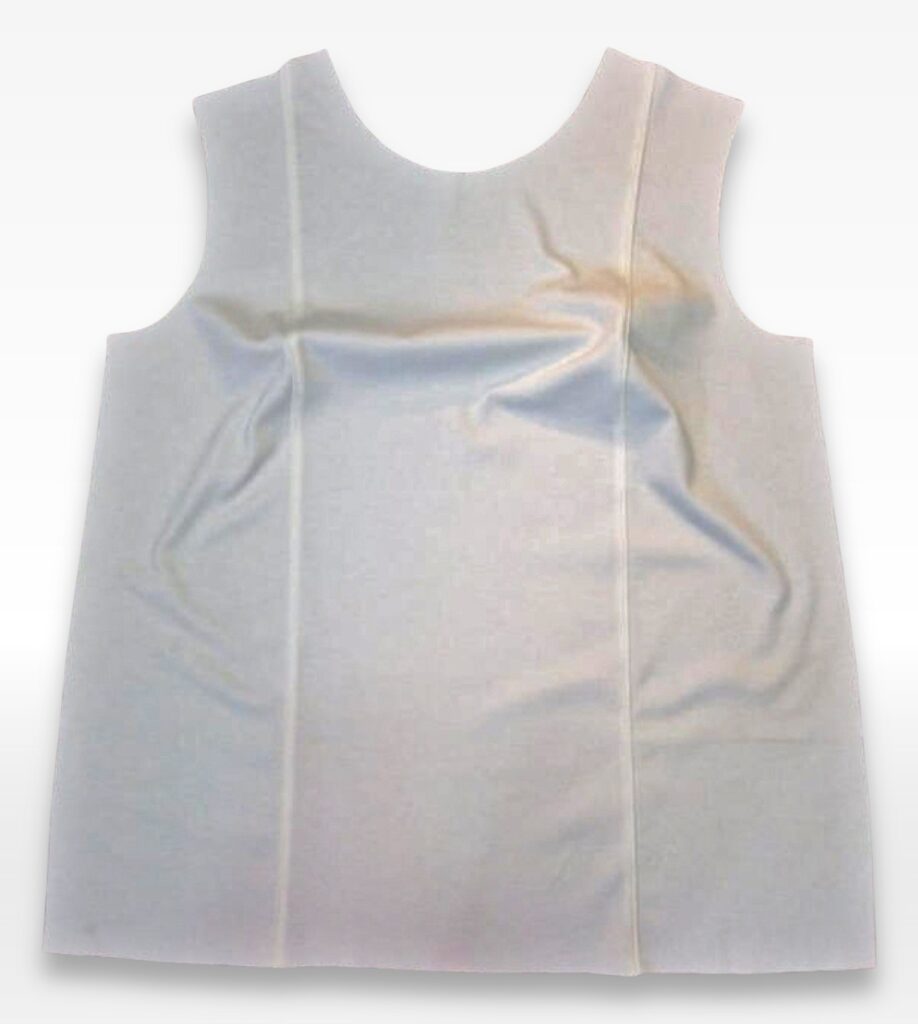
STEP 4
Topstitch the seams to the edge on the front side of the t-shirt and press.
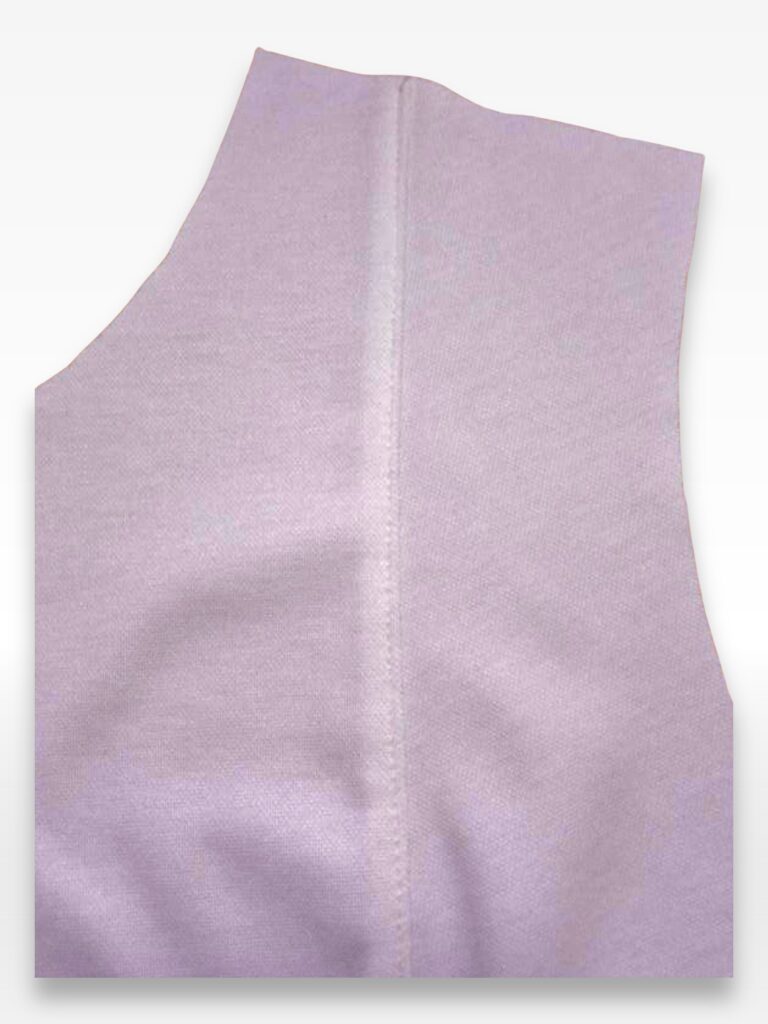
STEP 5
Sew the shoulder seams of the front and back pieces together, press the seam allowances towards the back.
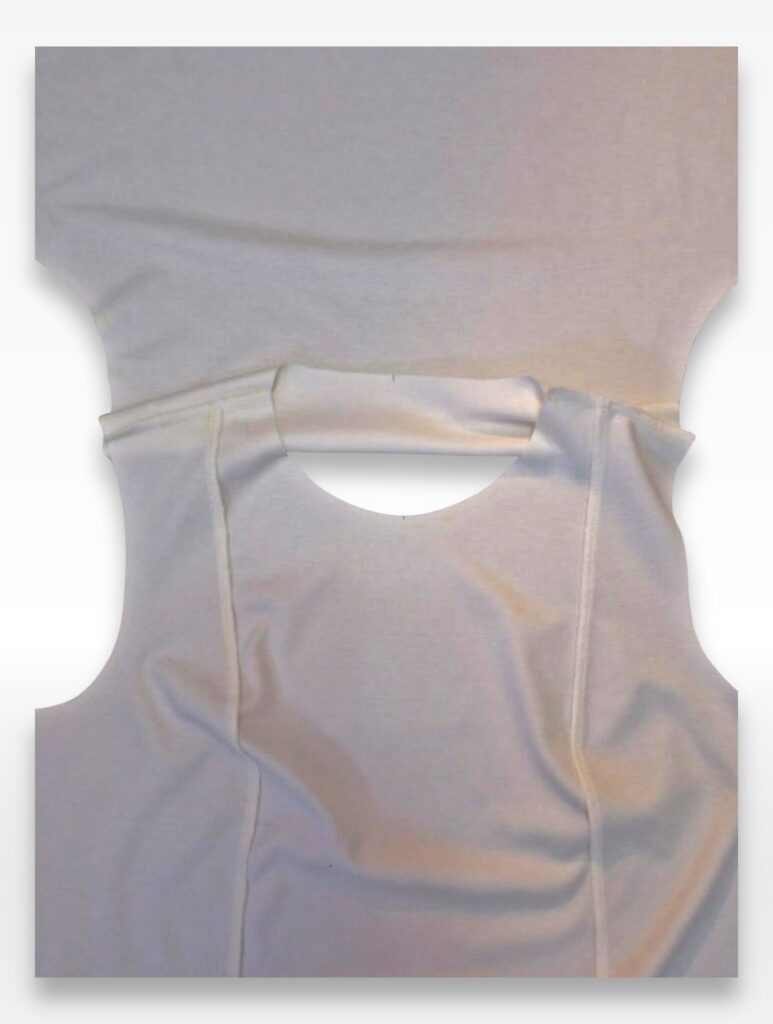
STEP 6
Sew the neckline binding into a ring, press the seam allowances open.
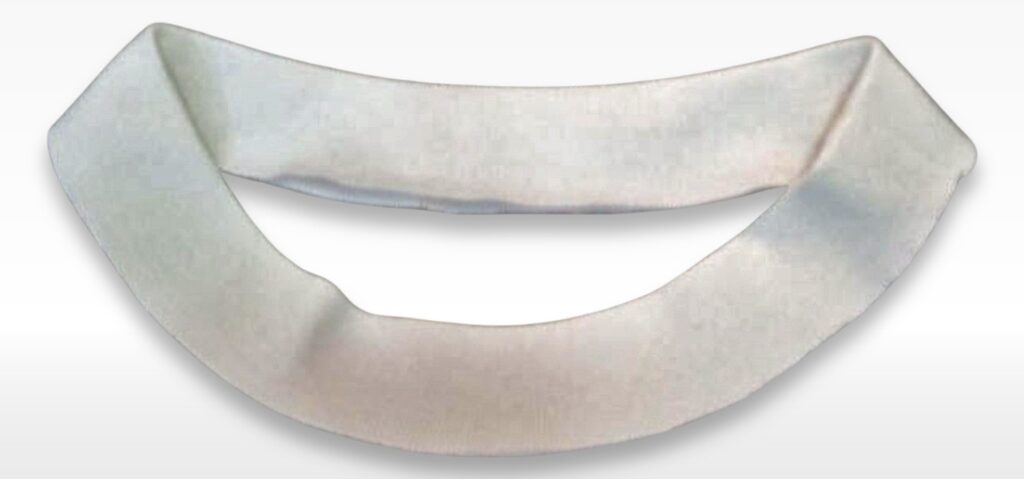
STEP 7
Fold the binding lengthwise in half, with the wrong side inside, and press along the fold.
STEP 8
Stretch the binding along the open edges, while simultaneously pressing it along the fold to give it a curved shape.
STEP 9
Evenly stretch and insert the binding into the neckline of the t-shirt, then sew it in.
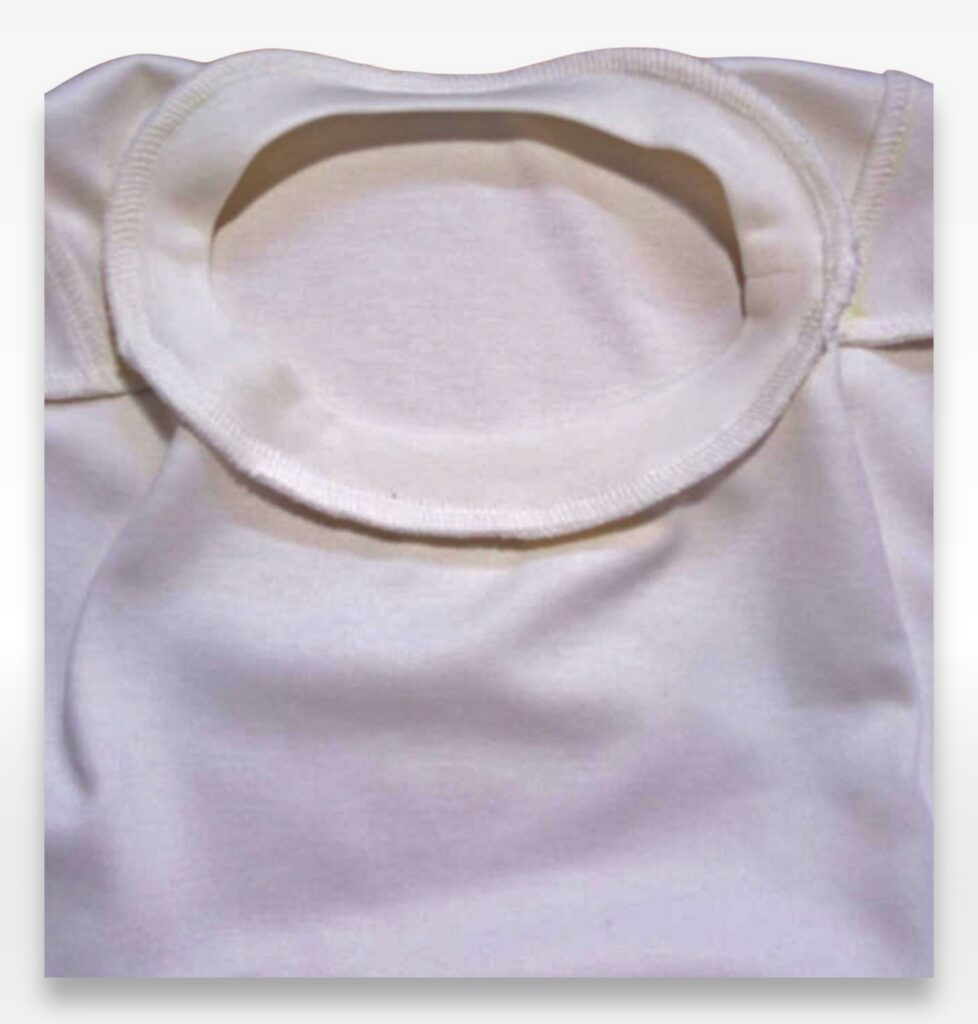
STEP 10
Press the seam allowances towards the t-shirt.
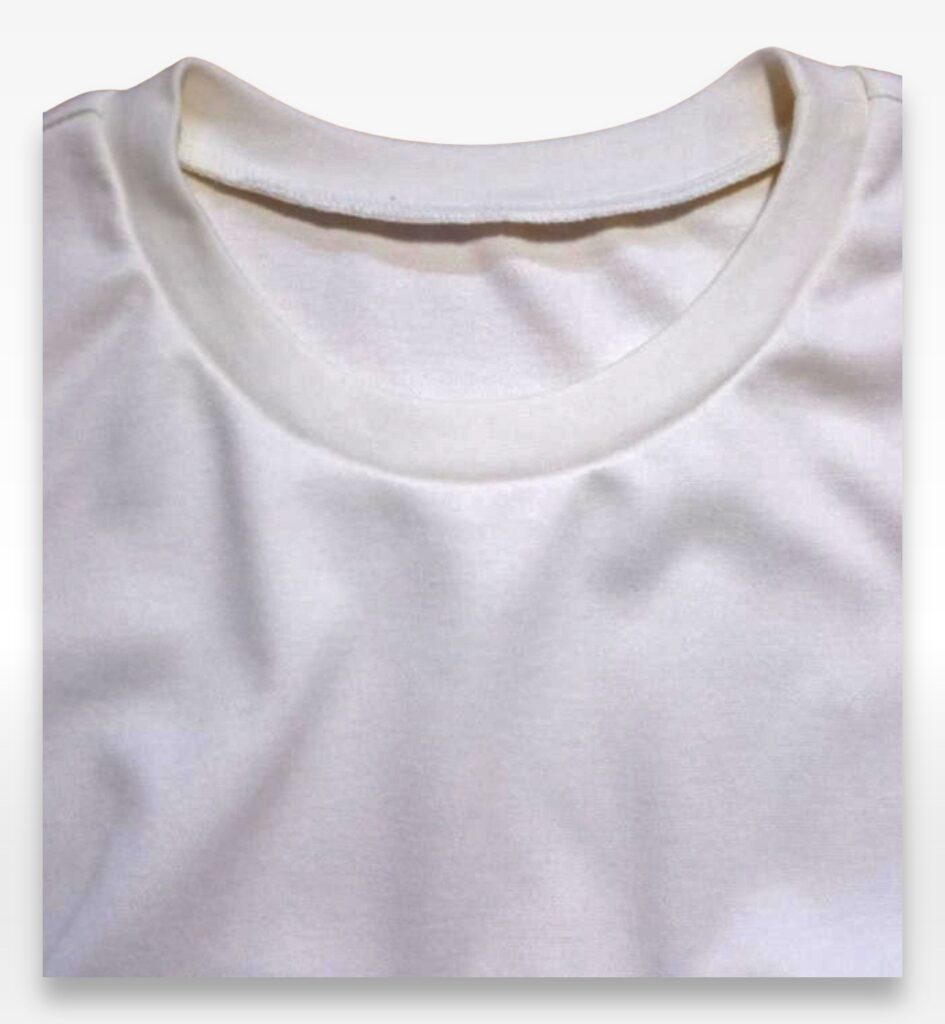
STEP 11
Topstitch the seam with double stitching on the front of the t-shirt and press.
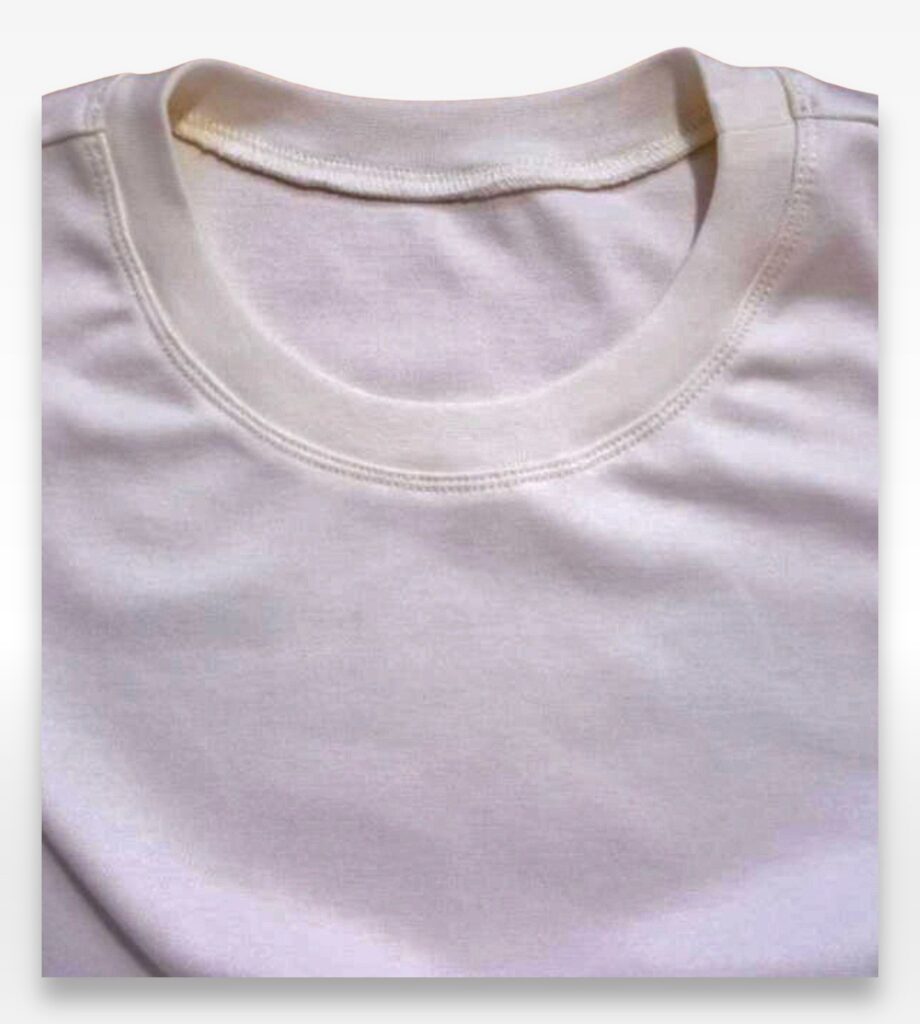
STEP 12
Sew the side seams of the t-shirt. Press the seam allowances towards the front.
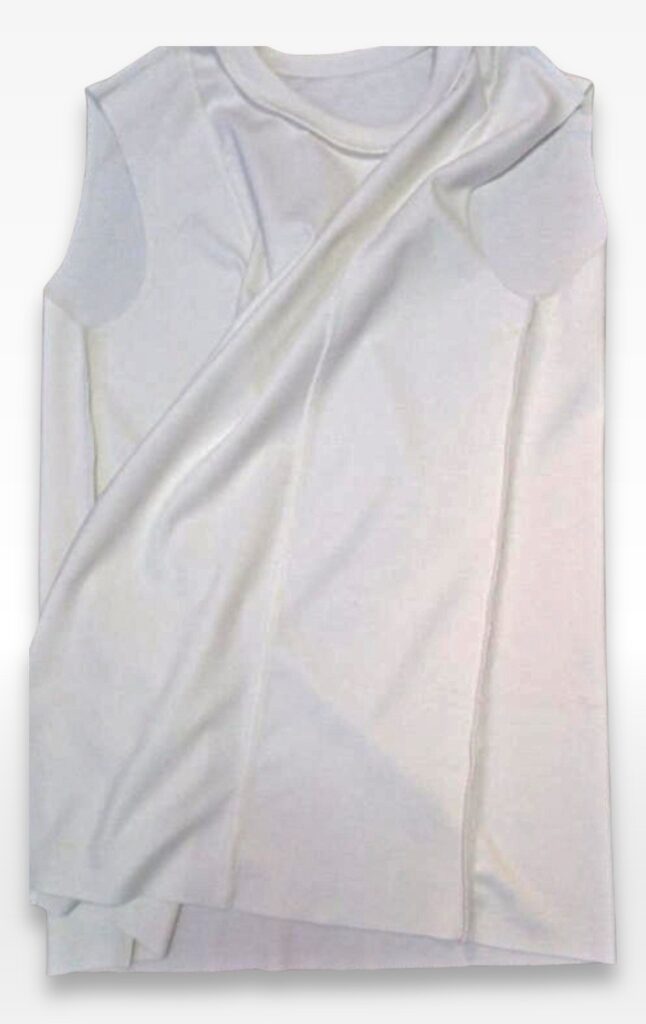
STEP 13
Sew the side seams of the sleeves. Press the seam allowances towards the front of the sleeves.
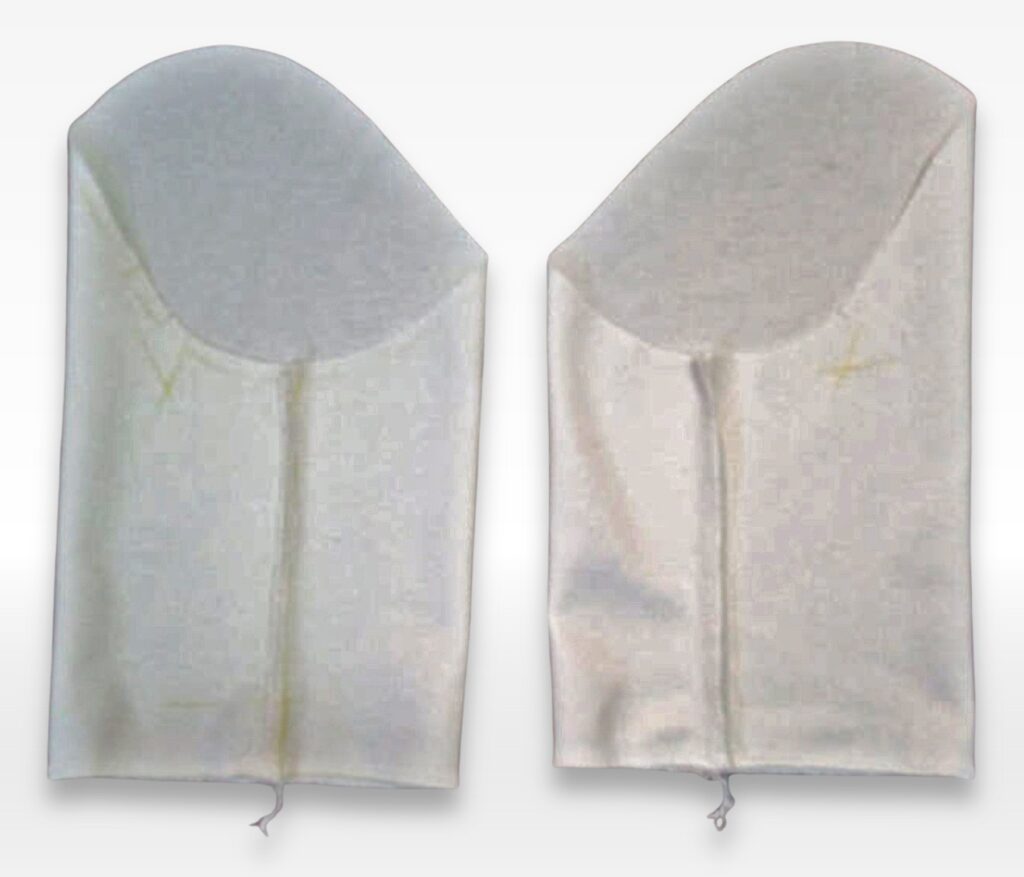
STEP 14
Insert or pin the sleeves into the armholes of the t-shirt.
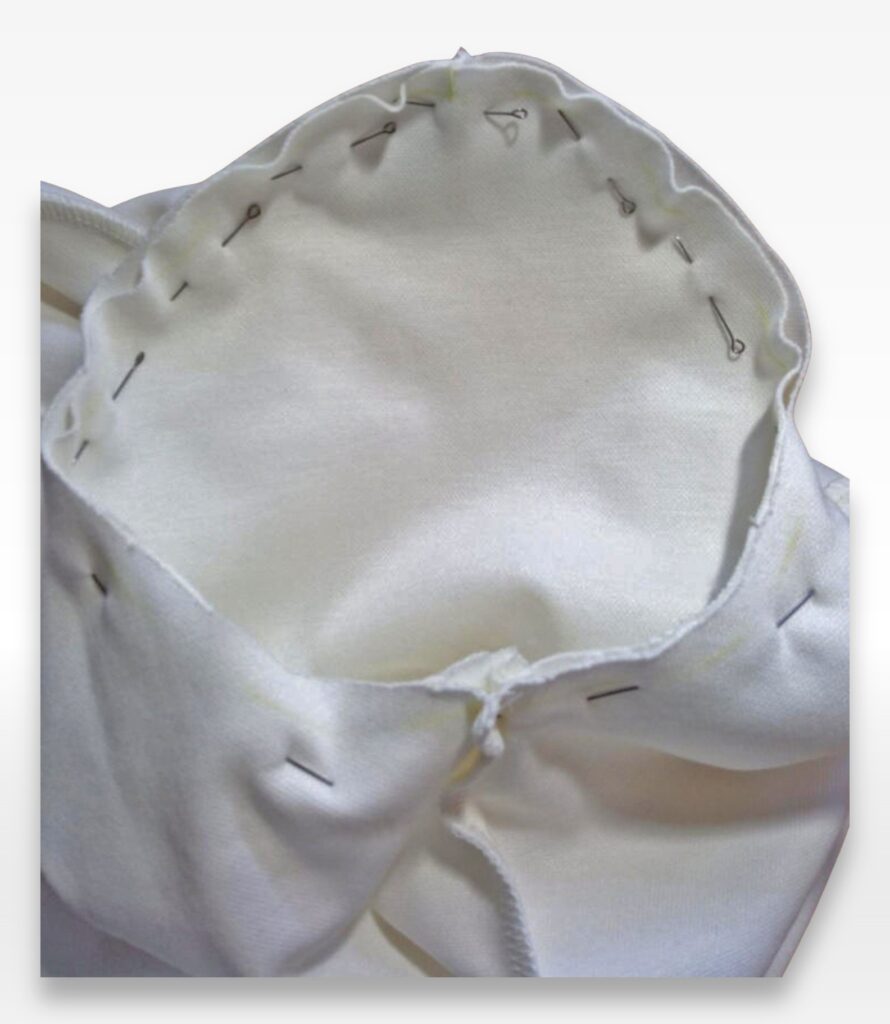
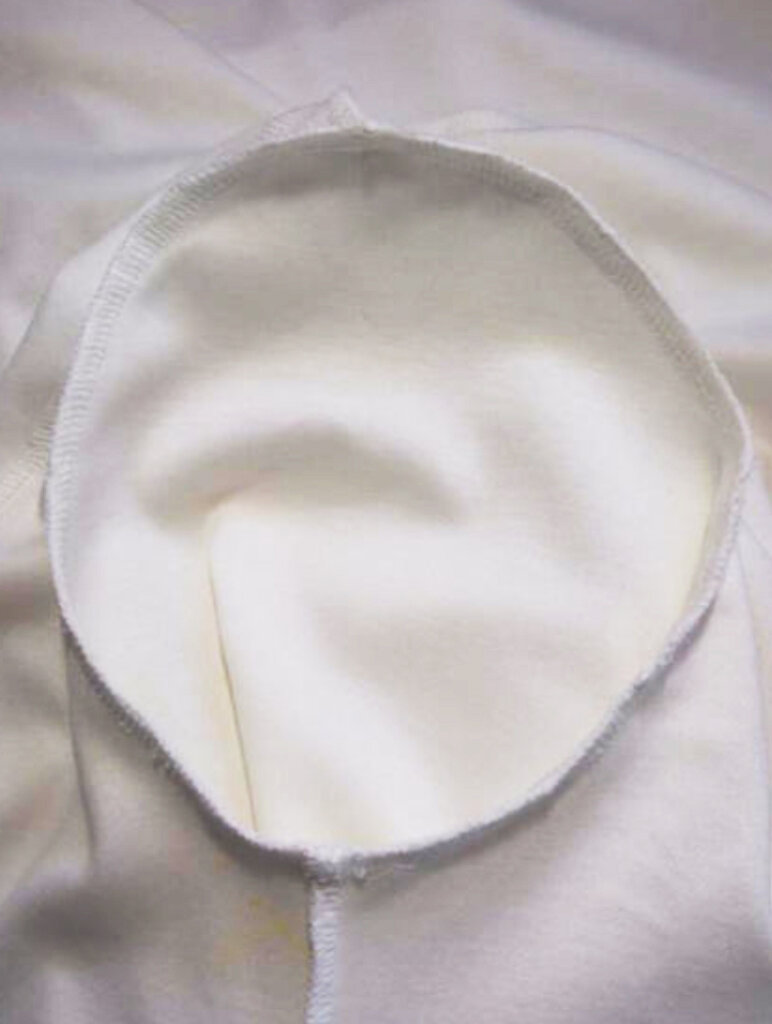
STEP 15
Tuck the sleeves into the armholes. Press the seam allowances towards the ribbing.
STEP 16
Fold the edges of the bottom of the t-shirt and sleeves, folding them to the inside by the width of the hem, and sew them with double stitching.
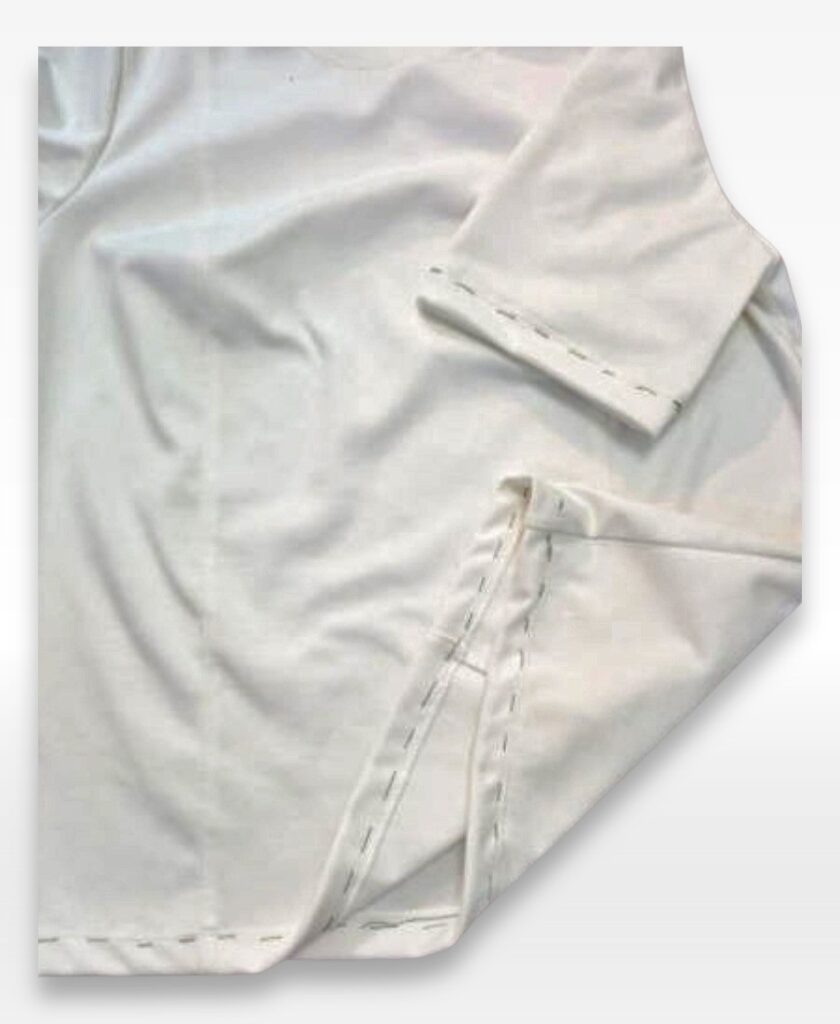
STEP 17
Remove the basting threads. Press the bottom of the t-shirt and the sleeves.
Finishing Touches & Final Press
You did it! Your brand-new T-shirt is officially complete. But before you toss it on and admire your work in the mirror (totally valid, by the way), give it a quick press with your iron. A light steam will help smooth out any wrinkles and make those seams look extra crisp. Just be sure to check your fabric’s heat settings—knits don’t love super high temperatures!
Now, the best part—wear it! You just made a custom T-shirt with your own hands, and that’s pretty awesome. Pair it with your favorite jeans, layer it under a cozy cardigan, or make another one in a different color because, let’s be real, one is never enough.
Happy sewing, and enjoy your new favorite tee!


