Welcome, fellow sewing enthusiasts, to your ultimate guide for crafting the perfect sewing underwear checklist. I’m here to ensure your sewing journey is as smooth as silk and as comfortable as your favorite undies. Imagine the pride and satisfaction of wearing something you’ve created with your own hands, something that fits you perfectly and reflects your unique style.
Now, why do we need a checklist? Well, darling, a checklist is the secret weapon in your sewing arsenal. It’s the roadmap that leads you to underwear perfection, ensuring you have all the essentials at hand and guiding you through each stitch with confidence and flair.
In this comprehensive guide, we’ll explore the world of sewing underwear, exploring essential materials, pattern selection, fabric choices, and all the little details that make a big difference in the final fit and finish of your creation.
So, grab your sewing machine, thread your needles, and embark on this sewing adventure together. With our trusty checklist in hand, there’s no limit to what we can create! Let’s revel in the joy of each stitch, the anticipation of seeing our creation come to life, and the satisfaction of a job well done.
Section 1: Essential Materials

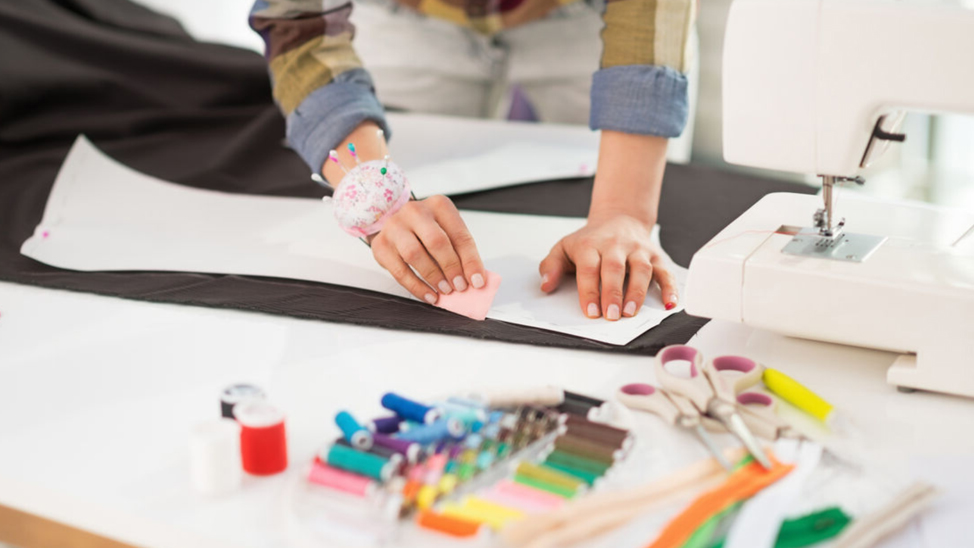
Now, let’s talk about the backbone of our sewing project: the materials. Picture this, my dear sewist: a soft, breathable fabric that feels like a second skin, sturdy elastic that hugs your curves just right, and a rainbow of threads ready to add the perfect finishing touch. Here’s what you’ll need:
- Fabric: Choose soft, stretchy, and breathable fabrics. Think cotton jersey, bamboo knit, or stretch lace for a luxury touch.
- Elastic: Opt for elastic specifically designed for underwear. For a professional finish, look for options like plush waistband elastic or picot edge elastic.
- Thread: Select a high-quality thread that matches your fabric for seamless stitching. A polyester thread with a bit of stretch works wonders for underwear.
- Needles: Use ballpoint needles to prevent snagging on stretch fabrics. A size 75/11 or 80/12 needle is ideal for most underwear projects.
- Sewing Machine: A reliable sewing machine with stretch stitch capabilities is essential for sewing underwear. Before you start, ensure it’s in good working order and follow these safety precautions:
- Always unplug the machine when not in use.
- Keep your fingers away from the needle.
- Never sew over pins.
With these essential materials, you can tackle any underwear sewing project confidently and in style.
Section 2: Preparing Your Workspace

Now that we have our materials sorted, it’s time to set the stage for sewing success. Creating a well-organized and ergonomic workspace can make all the difference in your sewing experience. Here’s how to prepare your sewing sanctuary:
- Clear Workspace: Start by clearing your work surface of any clutter. A clean and spacious workspace will allow you to spread out your materials and work efficiently.
- Good Lighting: Ensure your workspace is well-lit to prevent eye strain and help you see your stitches. Natural light is ideal, but investing in a good task lamp is impossible.
- Comfortable Seating: Choose a chair that provides proper support and allows you to sit comfortably for extended periods. Consider options like an adjustable office chair with lumbar support, a sewing chair with a contoured seat, or a cushioned stool. Adding a cushion can also provide extra comfort during long sewing sessions.
- Organized Supplies: Keep your sewing tools and supplies within arm’s reach. Use storage bins, jars, or a pegboard to organize your notions, threads, and other essentials.
- Inspiring Atmosphere: Surround yourself with elements that inspire creativity, whether a vase of fresh flowers, a favorite piece of artwork, or a motivational quote pinned to your bulletin board.
Creating a welcoming and organized workspace will set you up for sewing success and make every stitch a joyous experience.
Section 3: Pattern Selection

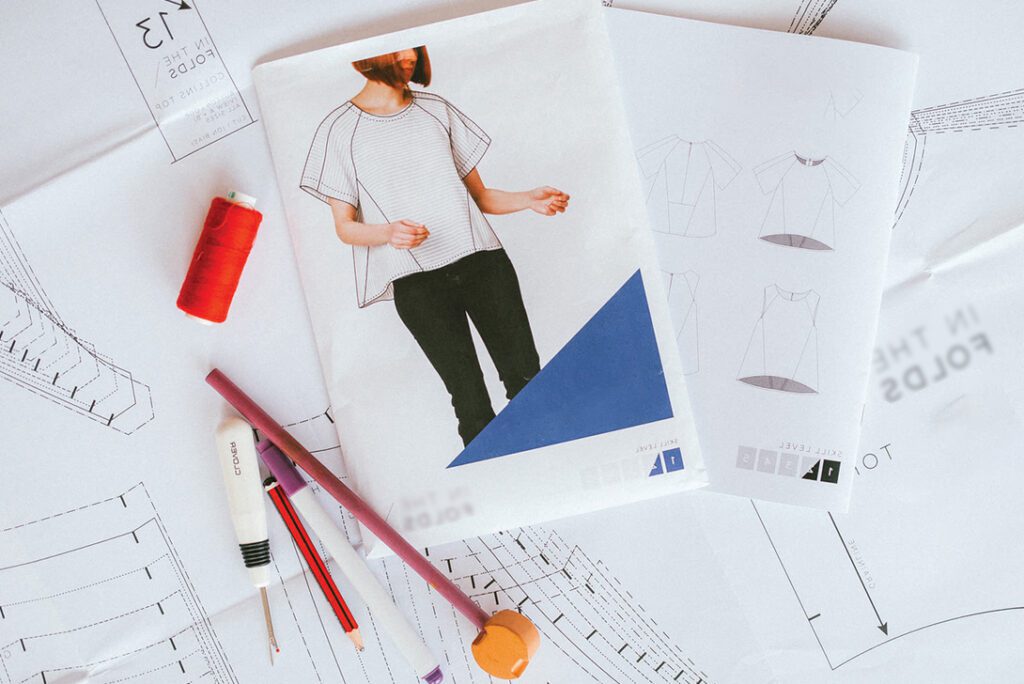
Choosing the perfect pattern is like selecting the ingredients for a delicious recipe—it sets the foundation for a fabulous outcome. When sewing underwear, selecting the right pattern is vital to achieving your desired fit and style. Here’s how to navigate the world of underwear patterns:
- Style Considerations: Consider the style of underwear you want to create. Whether it’s classic briefs, flirty panties, or supportive boxers, there’s a pattern out there to suit your taste.
- Skill Level: Assess your sewing skills and choose a pattern matching your expertise. Beginners may want to start with simple designs, while more experienced sewists can experiment with advanced techniques.
- Size Range: Look for patterns that offer a wide range of sizes to ensure a perfect fit. Many patterns come with multiple size options or can be easily adjusted for a customized fit.
- Reviews and Recommendations: Read reviews and recommendations from other sewists who have used the pattern. Their insights can help you avoid potential pitfalls and make informed decisions.
- Alterations: No pattern is perfect straight out of the box. Be prepared to make alterations to accommodate your body shape and preferences.
With careful consideration and a discerning eye, you’ll find the perfect pattern to bring your underwear sewing dreams to life. Remember, this is your creation, a reflection of your unique style and personality. So, don’t be afraid to make alterations, choose unexpected fabrics, and add your own creative touches.
Section 4: Fabric Selection

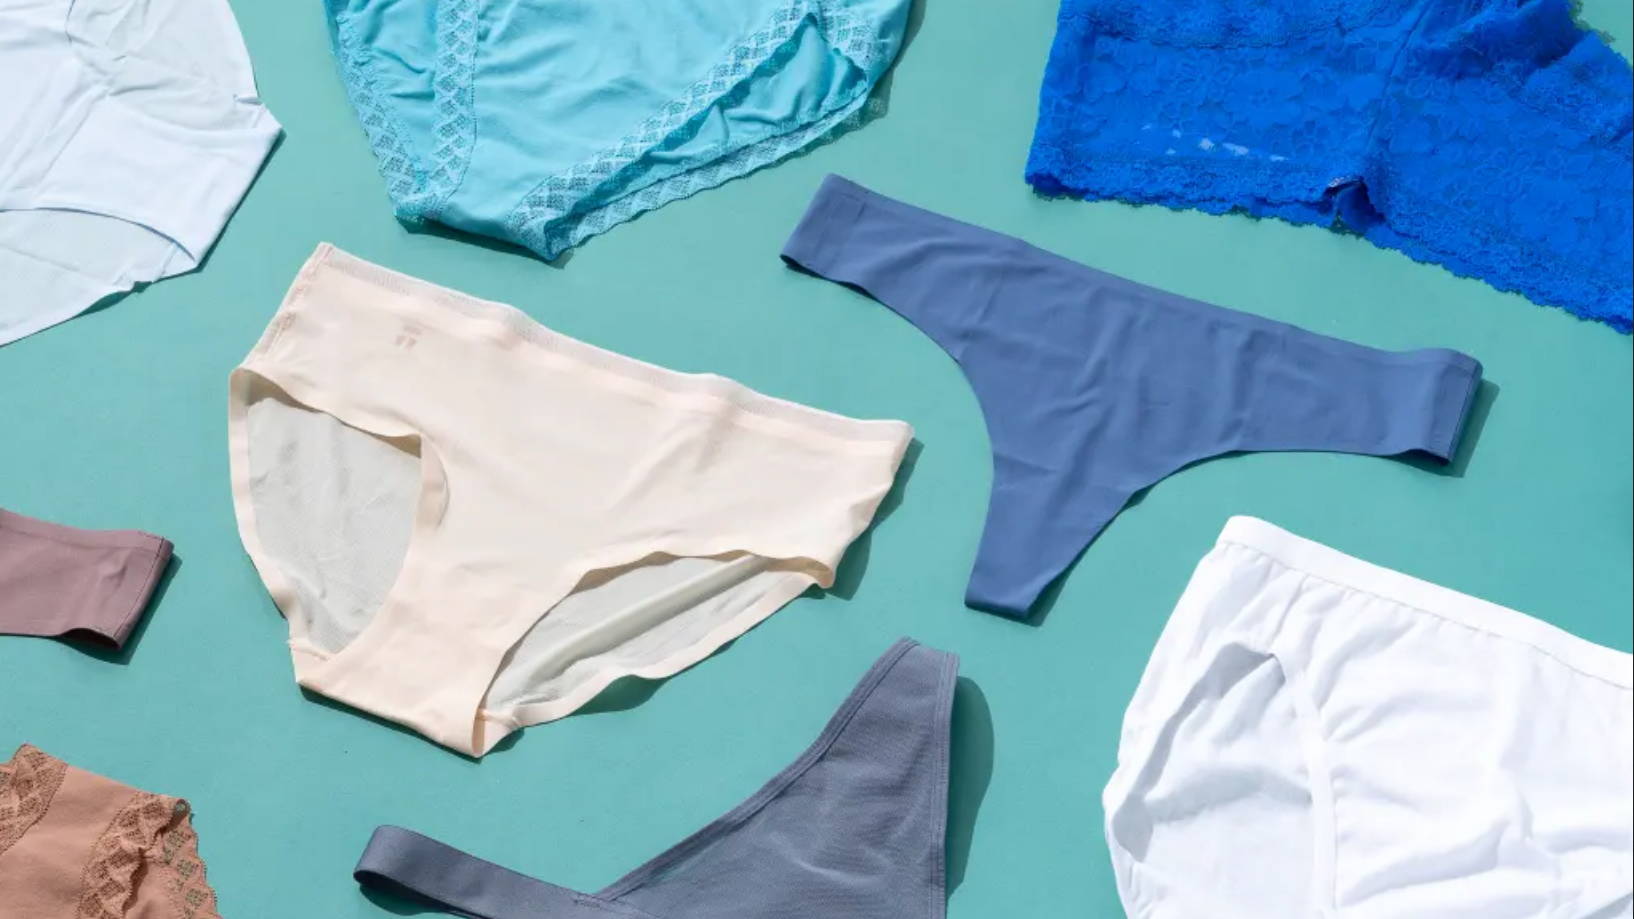
Now that we’ve chosen our pattern, it’s time to focus on the fabric—the soul of our underwear creation. Selecting the suitable fabric is crucial for achieving both comfort and style. Here’s how to choose the perfect fabric for your project:
- Breathability: Choose breathable and moisture-wicking fabrics to keep you fresh and comfortable all day. Natural fibers like cotton and bamboo are excellent choices for underwear.
- Stretch: Look for fabrics with stretch properties to ensure a snug and supportive fit. Choose fabrics with spandex or elastane content for optimal stretch and recovery.
- Softness: Prioritize softness against the skin by selecting fabrics with a smooth hand feel. Avoid rough or scratchy fabrics that may irritate.
- Opacity: Consider the opacity of the fabric, especially for lighter-colored underwear. Choose fabrics that provide sufficient coverage to prevent transparency.
- Prints and Solids: Decide whether you want a solid-colored fabric for a classic look or a playful print for a touch of whimsy. Choose prints that reflect your personality and style.
Explore fabric options and experiment with different textures and prints. The suitable fabric will elevate your underwear from basic to beautiful.
Section 5: Notions and Embellishments
Ah, it’s time to add those finishing touches that elevate our underwear creations from ordinary to extraordinary. Notions and embellishments are the little details that impact our garments’ final look and feel. Here’s what you’ll need:
- Elastic: Choose elastic that complements your fabric and provides the proper stretch and support. Consider options like plush waistband elastic, picot edge elastic, or fold-over elastic for a polished finish.
- Lace and Trims: Add a touch of romance with delicate lace or playful trims. Lace and trims are not just decorative elements-they can also enhance the comfort and fit of your underwear. Choose lace in coordinating colors or contrasting hues to add visual interest to your underwear.
- Ribbons and Bows: Add ribbons or bows as decorative accents for a sweet and feminine touch. Ribbons and bows can be used in various ways to enhance the design of your underwear. For example, you can use a ribbon as a waistband or a bow as a decorative element on the back of your panties. Choose satin ribbons or grosgrain ribbons in complementary colors.
- Labels: Personalize your handmade creations with woven or printed labels. Include your name, brand, or a special message to add a professional touch.
- Embellishments: Get creative with embellishments like appliques, embroidery, or rhinestones. Use them sparingly to add a touch of sparkle or whimsy to your underwear designs.
Remember, less is often more when it comes to embellishments. Choose a few key elements to highlight and let them shine.
With the correct notions and embellishments, you’ll transform your underwear creations into works of art that are as beautiful as they are functional.
Section 6: Cutting and Marking
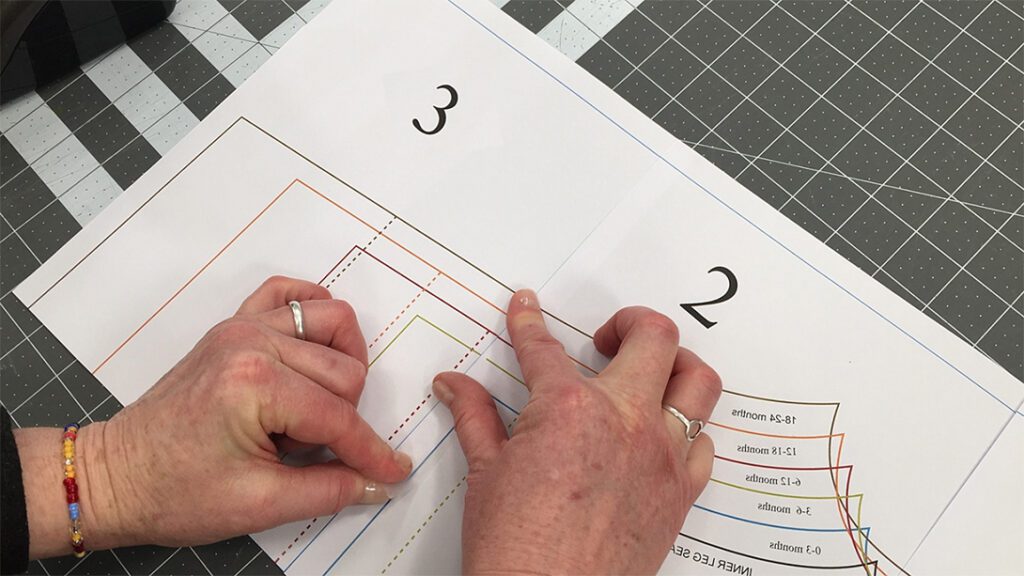
Now that we have gathered all our materials and notions, it’s time to dive into the cutting and marking process. Precision is key at this stage to ensure that each piece fits together seamlessly. Here’s how to approach cutting and marking your fabric:
- Prepare Your Pattern: Lay out your pattern pieces on a flat surface, following the layout instructions provided with the pattern. Pin the pattern pieces in place to prevent shifting during cutting.
- Transfer Markings: Use tailor’s chalk, marking pens, or tacks to transfer markings from the pattern onto the fabric. Accurately mark critical points such as notches, darts, and seam lines.
- Cut with Care: Using sharp fabric scissors or a rotary cutter, carefully cut along the marked lines to cut out each pattern piece. Take your time and cut with smooth, even strokes to ensure clean edges.
- Check Twice, Cut Once: Double-check your cutting before moving on to ensure all the pieces are cut out accurately. It’s better to catch any mistakes now than to discover them after sewing.
By taking your time and paying attention to detail during the cutting and marking process, you’ll set yourself up for success as you sew your underwear.
Section 7: Sewing Techniques

Now, we come to the heart of our sewing adventure—the stitching! Mastering essential sewing techniques is the key to creating beautifully constructed underwear that fits like a dream. Here’s a breakdown of the sewing techniques you’ll need to know:
- Sewing Seams: Start by sewing the seams of your underwear pieces together. Use a stretch stitch or a narrow zigzag stitch to allow the seams to stretch with the fabric.
- Attaching Elastic: Next, it’s time to attach elastic to your underwear’s waistband and leg openings. Use a stretch stitch or a zigzag stitch to secure the elastic, stretching it slightly as you sew to ensure a snug fit.
- Finishing Edges: To prevent fraying, finish the raw edges of your underwear with a serger, overlock stitch, or zigzag stitch. You can also use fold-over elastic to encase the edges for a clean, neat finish.
- Understitching: For added durability and a professional finish, consider understitching along the seam allowances of your underwear. This technique helps to keep the elastic and seam allowances flat and prevents them from rolling or twisting.
- Topstitching: Add topstitching along the waistband and leg openings to reinforce the elastic and give your underwear a polished look. Use a straight stitch or a decorative stitch for added flair.
Practice these sewing techniques on scrap fabric before starting your final project to build confidence and ensure a flawless finish.
Section 8: Fitting and Adjustments
Now that we’ve sewn our underwear pieces together, it’s time to ensure they fit like a glove. Fitting is a crucial step in the sewing process, and making adjustments as needed will result in underwear that feels as good as it looks. Here’s how to approach fitting and making adjustments:
- Try-On Session: Before finalizing your underwear, try them on to assess the fit. Pay attention to the waistband, leg openings, and overall comfort.
- Evaluate Fit: Note any areas that feel too tight or too loose. Common fitting issues include waistband rolling, leg bands digging in, or excess fabric in the crotch area.
- Make Adjustments: Depending on your fitting issues, you may need to adjust the elastic lengths, seam allowances, or overall fit of the underwear. Consider techniques such as adjusting elastic tension, grading between sizes, or adding darts for shaping.
- Test and Repeat: After making adjustments, try on the underwear again to see how the changes affect the fit. Feel free to make multiple adjustments and test them out until you achieve the perfect fit.
- Document Changes: Keep track of the adjustments you make for future reference. That will help refine your sewing techniques and tailor future projects to your unique measurements.
Remember, fitting is a process, and it may take some trial and error to get it just right. With underwear that fits and flatters your body beautifully, patience and perseverance will pay off.
Section 9: Final Touches
We’re in the home stretch now, my fellow sewists! It’s time to put the finishing touches on our underwear creations and admire our handiwork. Here’s how to complete your project with finesse:
- Trim Threads: Grab your trusty pair of scissors and trim loose threads from your underwear. Pay attention to seams, edges, and any other areas where threads may be poking out.
- Press Seams: Use an iron to press the seams of your underwear. Pressing helps to set the stitches and gives your underwear a crisp, professional finish. Be sure to use a pressing cloth to protect delicate fabrics.
- Inspect for Quality: Take a moment to inspect your underwear for any imperfections or missed stitches. Check the fit, the stitching, and the overall construction to ensure everything is up to your standards.
- Celebrate Your Success: Congratulations, dear sewist! You’ve completed your sewing project with style and grace. Take a moment to revel in your accomplishments and admire your handmade creations.
- Share Your Creations: Whether you proudly wear your handmade underwear or gift it to a lucky recipient, remember to share your creations with the world. Snap a photo, post it on social media, and inspire others with your sewing prowess.
With these final touches, your sewing journey comes to a satisfying conclusion. But fear not, for always more sewing adventures are on the horizon. So gather your fabrics, thread your needles, and let your creativity soar!
Conclusion
And there you have it, dear sewing enthusiast! You’ve embarked on a journey through the world of sewing underwear, armed with knowledge, skills, and a dash of creativity. With your comprehensive sewing underwear checklist, you’ve navigated through essential materials, pattern selection, fabric choices, and sewing techniques with finesse and flair.
As you bid farewell to this sewing adventure, remember that the joy of sewing lies in the finished product and the process itself. Each stitch, each seam, and each fitting adjustment is a testament to your dedication, passion, and craftsmanship.
Whether you’re creating underwear for yourself, your loved ones, or your customers, may your sewing endeavors be filled with satisfaction, inspiration, and endless possibilities.
Remember, the sewing world is vast and ever-evolving, so don’t be afraid to explore new techniques, experiment with different fabrics, and embark on new sewing adventures.
Until next time, happy sewing, my friend!