We live in an increasingly digital world, and you have many things available at your fingertips. Luckily, sewing patterns are no exception to this. This article will cover some best practices for using PDF sewing patterns.
Digital sewing patterns all the way
Patterns from KittyPatterns are available to buy and download instantly in PDF format. From there, you can print them out as you wish on your home printer. You don’t have to worry about shipping when you purchase a sewing pattern in digital format. That includes the time it takes to ship and the charges that come along with it.
You also get the benefit of reprinting it if you ever need to. It also helps you get that instant gratification that you wouldn’t usually get. After all, you can print the pattern and start working immediately.
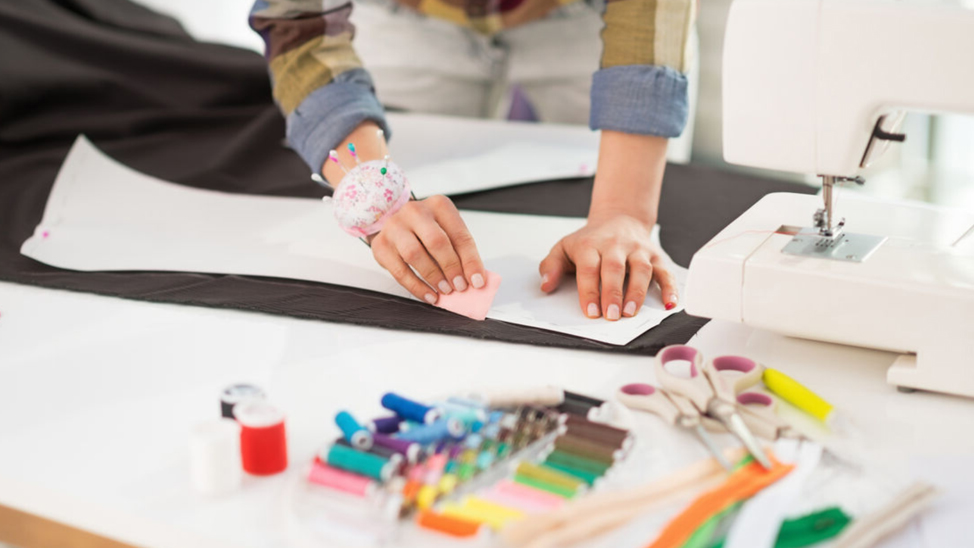
When using a PDF pattern, you must put everything together beforehand. After all, you have to print pattern pages and tape them together. However, there are key tips and tricks that you can use to make the entire process highly accessible. Below, you will learn some of them.
1. Downloading
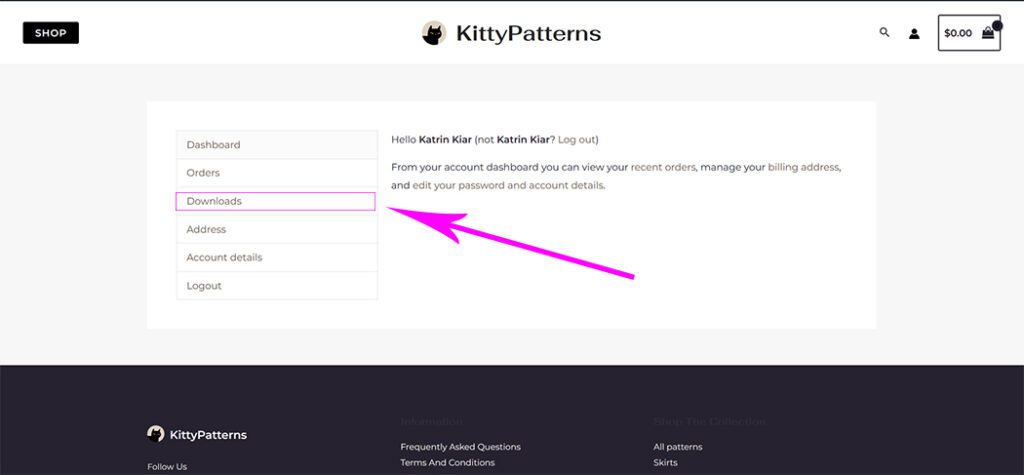
Whenever you purchase a sewing pattern from KittyPatterns, you will get an access link to your download page. That is where you can click on the link and download the file.
You will receive an e-mail with a link. Save it if you want to download the file later. Or you can log into your account, and from there, you should see the “Downloads” section.
As soon as you click “download now,” the pattern will start downloading. You want to try to locate it right away. It typically defaults to your “Downloads” folder on your computer. You can take it from there and move it wherever you’d like by creating a folder dedicated to your sewing pattern digital downloads.
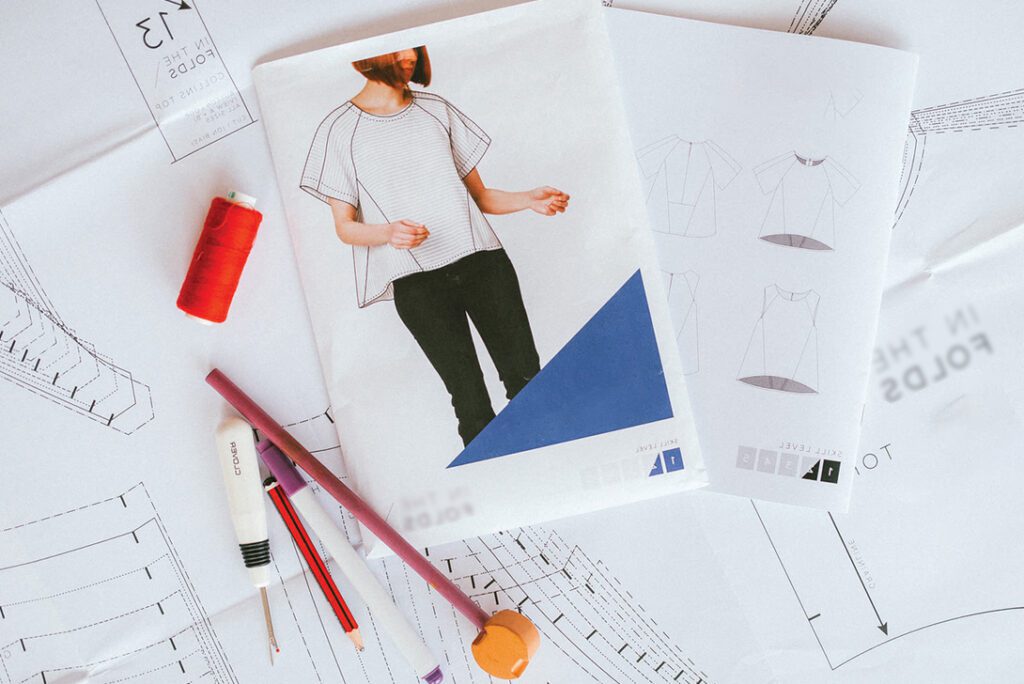
A downloaded pattern you purchase comes in a *.ZIP file containing:
● PDF file with the pattern brochure with a few pages of garment construction, basic step-by-step sewing instructions, and instructions on printing and putting your PDF pattern together.
● PDFs with multi-size patterns in A4 format. Each PDF contains several pattern tile pages you need to print. Please pay attention that sometimes there can be a lot of them. Contact me if you know how many pages you need to print.
● PDFs with multi-size patterns in A0 format. Each PDF contains several pattern tile pages (in some cases) you need to print in a print shop.
● JPGs with A4 pattern layout for easy assembly of printed tile pages.
● JPGs with A0 pattern layout for easy assembly of printed tile pages.
The A4 pattern pieces will be formatted as tiles.

An excellent way to visualize it is by thinking about a large piece of tissue paper with patterns on it that’s unfolded and cut into various small rectangles. You will print the PDF file on your home printer, and the pages need to be taped to reconstruct the pattern tissue-sized layout.
A0 format patterns come in a separate file that you can easily print on a wider formatted printer.
Once you’ve gone ahead and purchased and downloaded the file, you will move on to printing the pattern out.
No matter what method you end up going with, the primary thing you want to do is set the printer up properly. You need to alter the print scale, so it prints right. Many printers will attempt to scale the document to fit the paper size. Since you are printing a sewing pattern, you don’t want to do this because the pieces will come out of the wrong size.
2. Print at home
Printing out a PDF file pattern at home will be easier if you’ve printed any other document. You do it the same way as you would print anything else. Open the file and navigate to “File” and “Print.” Be sure you are not setting the printer to “scale to fit.” That is going to distort the sizes of your pattern. Instead, ensure it’s at a “print scale 100%.”
Before you go ahead and print out the entire pattern:
- Try to locate the page in your pattern brochure that has a test square or download it using this link.
- Try to print this page by itself to ensure it’s scaling correctly.
- Measure out the square to ensure it measures appropriately.
If not, you’ll want to adjust the print scaling options because it’s not right.
You can also mess around with the specific pages you want to print.
You can also alter the quality of the print job. You can choose different options, including “fast” or even “draft.” Each of these will use less ink for the print job.
3. Copyshop
Each pattern comes in A0 or wide format, you can place it on an external thumb drive and head over to a copyshop to get it printed. They can print the file out for you on a wide format printer they have in the shop. That is an excellent way to do it, so you don’t have to tape anything yourself.
You want to ensure that you tell them that the image needs to be scaled to 100%. You also want to measure out the scale square of the pattern while you are physically at the shop, so you know that it’s done properly. If it measures wrong, you can tell them to reprint it.
Also, if you don’t want to use a printer you have at home, you can always do the same with A4 format. You can place the original file on your thumb drive, head to your nearest copyshop, and print it. In this case, you still need to ensure it scales appropriately. It’s a good idea to tell them to print it on the thinnest paper available because many copyshops will default to using thicker paper.
4. Assembly
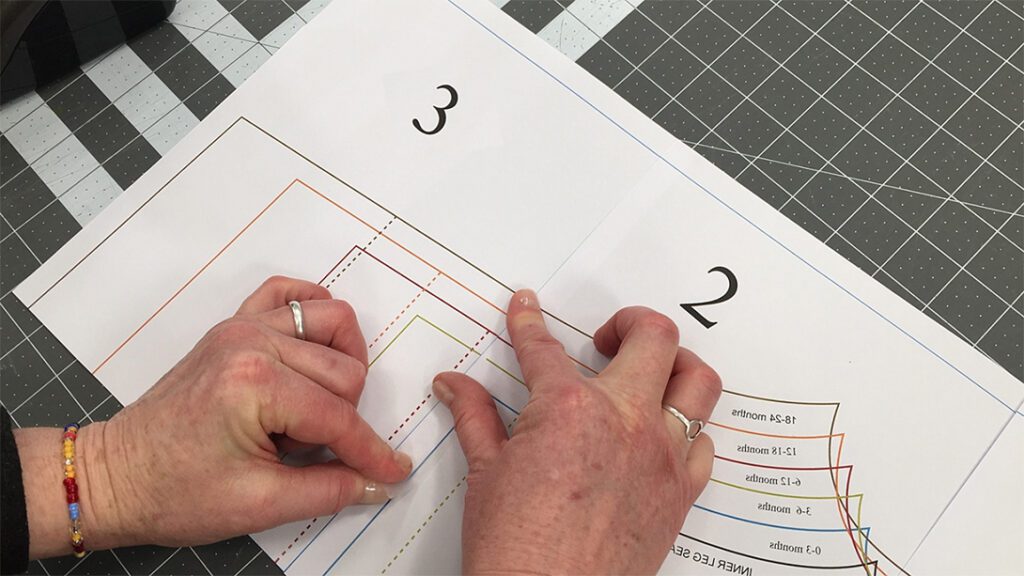
To make the process easier, we prepared printed pattern layouts for A4 and A0 printing formats. You can find them in separate files called “…-A4-PATTERN-LAYOUT.jpg” or “…-A0-PATTERN-LAYOUT.jpg”. These will show you how all printed pages fit together, so you can easily complete your pattern.

All pattern pages are numbered and have markings. Once printed, you’ll notice triangles on each pattern page’s sides, which indicate the edge of the individual tiles. Line these triangles up when putting your pattern together.
Also, all pattern pages have numbers and letters. These tell you which pages go with which (Ax with Axx or x1 with xx1). Please remember that letters run horizontally across pattern pages, while numbers run vertically down the pages.
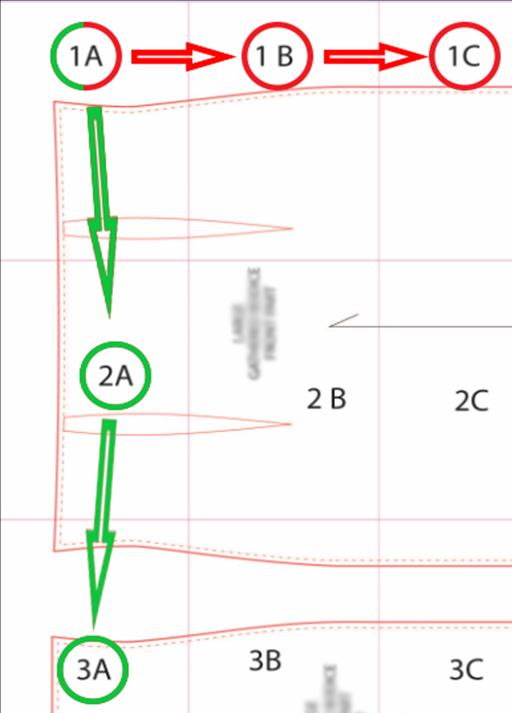
Using the triangles, line up pattern pages with the same letter or number (A1 with A2 or A1 with B1) and tape them together. Continue to add pages with the same letter or number. As a result, you will get the first printed row of the pattern. Repeat making rows with pages with matching letters or numbers on them.

Once you finish all rows, tape them together to complete the pattern. You could also opt to use glue to stick everything together, making things look even neater and more precise. However, you will need to wait for the glue to dry before cutting everything out; so, take your time.
Once you have everything properly aligned, you can start cutting everything out as you would if you used pattern tissue.
5. Space saving assembly
Many people have a big issue with digital patterns: you must spend more time assembling them. It’s not only tedious, but it can be rather cumbersome too. You have to tape everything, and often you might have to do it in a tight space.
If you are in this position, you could always consider cutting out each pattern piece as you need it. That can be trickier because each pattern piece is generally laid out much like a game of Tetris, where you find the piece that fits most efficiently. That will also mean that a single digital printed file will likely have different bits of multiple pattern pieces. However, if you do it carefully, you can make it work.
Once you are finished trimming, you’ll want to go through with the assembly process. You will want to find all the pages involved with the very 1st piece. That will likely involve you going out of order on the printed pages. Try to tape them with one another and cut out the pattern piece. From there, you can move on to the next one.
It’s best to save the scraps until you have cut everything out. After all, you never know if something is trash or an essential part of your pattern unless you are very careful. Also, you’ll want to check the instructions multiple times to ensure you didn’t miss any pieces during the initial stage.
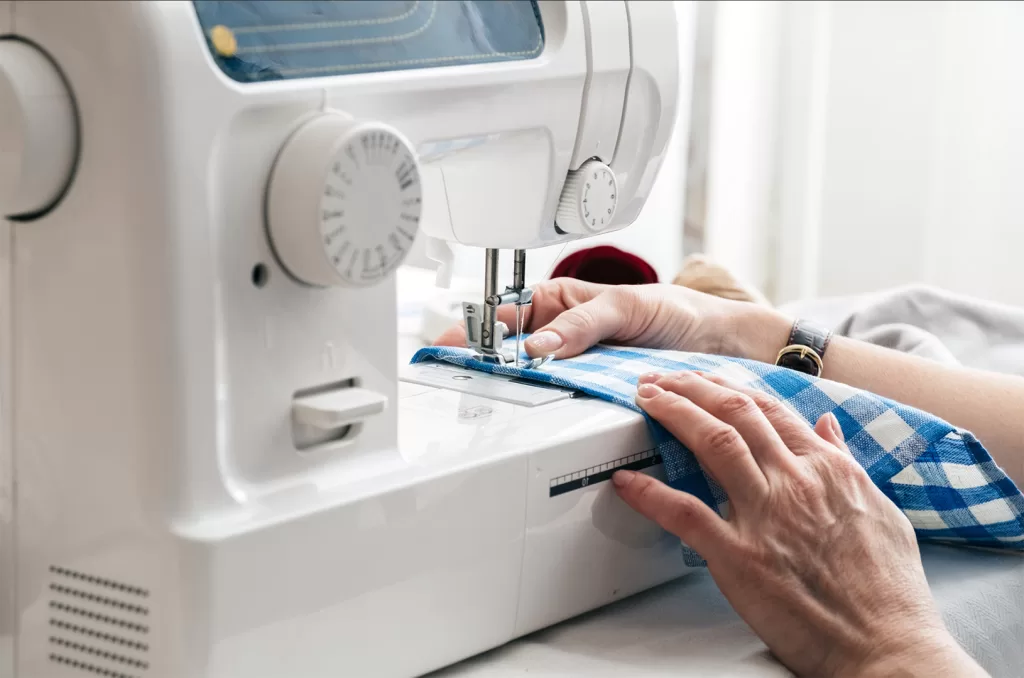
6. Sewing
Once you’ve cut all the pieces, you’ll want to refer to the instructions which you can view on phone or computer screen while working on it.
7. Storing the patterns
Because all the digital patterns are printed on your computer paper, you won’t be able to fold them as space efficient as you would tissue patterns. There are plenty of ways you can store these patterns, and here are a few:
– Fold
One of the easiest would be folding the pattern pieces and storing them in a folder. Try to label a folder, place it in a large plastic bag, and mark it too.
Always use low-heat iron to ensure the creases get flattened when you want to use them again. Avoid the tape because you don’t want it to melt. You also might want to use a cloth over the paper, so the ink doesn’t run.
– Roll
Another good option would be to stack the pieces in order of size. You want the smallest to go towards the top. You can roll them up and use bands to keep them in place. You could store them in all kinds of containers if you do this.
– Hang
You could always consider placing some tape on the patterns towards the edge and punching a hole right through the tape.

That can help you attach everything and place them hanging. You can use a clothing hanger or binder clips to clip everything to the hanger.