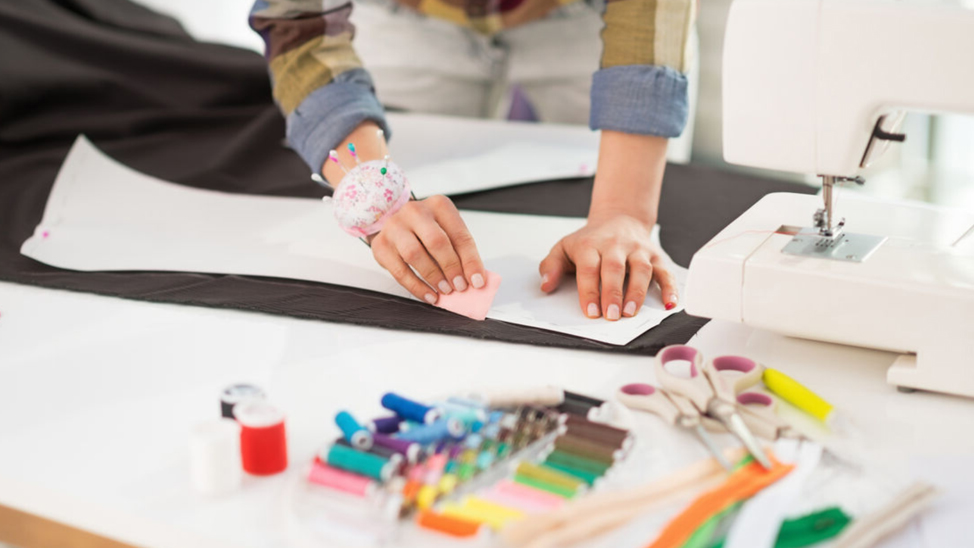
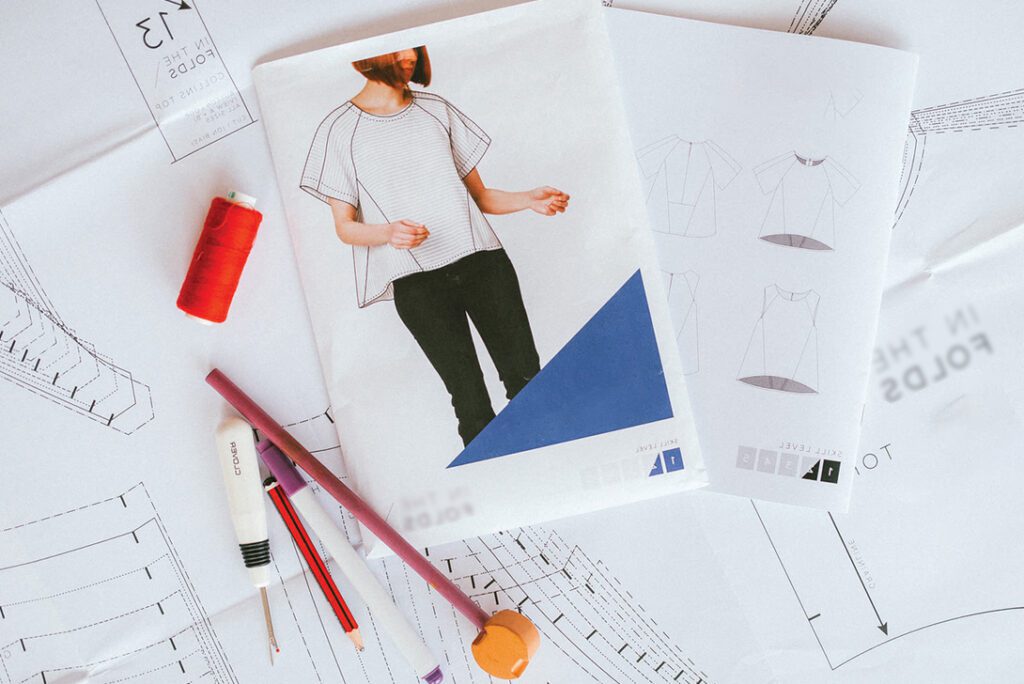
You’ve found the perfect sewing pattern at KittyPatterns, picked out your fabric, and you’re ready to bring your vision to life. But before you start cutting and stitching, there’s one crucial step—printing your pattern correctly.
If you’ve ever struggled with mismatched pages, patterns that print too small, or the never-ending taping process, don’t worry. We’ve all been there! Getting your pattern printed the right way will save you time, frustration, and the headache of resizing or reprinting later.
This guide will walk you through everything you need to know—from choosing the right printing format to assembling your pages—so you can skip the stress and get straight to sewing.
Two Ways to Print Your Pattern
At KittyPatterns, we provide patterns in two formats, giving you the flexibility to choose what works best for you.
1. Home Printing (A4 or US Letter Size)
This option is perfect for those who want to print their pattern immediately and get started right away. Our tiled patterns are designed to be printed on standard home printers, using either A4 or US Letter paper.
The process is simple:
- The pattern prints across multiple pages that you’ll later match and tape together.
- Think of it like a jigsaw puzzle—except once you’re done, you’ll have a perfectly aligned sewing pattern instead of a picture of a cute cat.
It takes a little patience, but once you get the hang of it, it becomes second nature!
2. Large-Format Printing (A0 Size)
Want to skip the taping and assembling? If you prefer a seamless pattern, you can take the A0 version to a local copy shop and have it printed on a large sheet. No need to match pages—just print, cut, and sew.
Even better? Many online printing services offer A0 printing and will ship it straight to your door. It’s a great option if you want to save time and jump right into the creative process.
Whichever method you choose, scaling your pattern correctly is key. Let’s go over a few simple steps to make sure your printout is perfect.
Before You Print: Quick Checklist
To avoid printing errors, follow this checklist before hitting print:
STEP 1
Set Orientation to Auto. Let your printer decide between portrait and landscape mode. This ensures each page prints correctly.
STEP 2
Scale = 100% or Actual Size. Never use “Fit to Page” or “Shrink Oversized Pages.” This is crucial for keeping the pattern true to size.

STEP 3
Print a Test Page First. As a test page we recommend using our TEST SQUARE. Print that page first, measure the square, and confirm it’s exactly 10 cm or 3 15⁄16 inches. If the size is off, double-check your printer settings.
STEP 4
Use Adobe Acrobat Reader. Do not print from Microsoft Word or your web browser — these programs can distort the pattern. Adobe Acrobat Reader is free and ensures everything prints correctly.
A few extra minutes checking these settings will save you a world of frustration later.
Pro Tips for a Smooth Printing Experience
● Use good-quality paper. Standard printer paper is fine, but if you want a sturdier pattern, try lightweight cardstock or tracing paper.
● Printer ink running low? Print in high-quality mode to keep pattern lines crisp and easy to cut.
● Tape vs. Glue? Clear tape is faster, but a glue stick can give you smoother, more seamless joins. Try both and see which works best for you!
● Want to reuse your pattern? Instead of cutting out the printed version, trace it onto Swedish tracing paper or pattern paper. This way, you can use it multiple times.
Troubleshooting: Common Printing Issues and Fixes
Even with the best preparation, things can sometimes go wrong. Here’s how to fix common printing issues:
- Pattern is printing too small or too large? Check that the scale is set to 100% or Actual Size and that the correct paper size (A4 or US Letter) is selected.
- Pages aren’t aligning properly? Make sure your printer isn’t resizing the document. Also, check that all pages were printed at the same scale.
- Ink is fading or smudging? If the pattern lines look blurry or faint, your ink might be running low. Printing in high-quality mode can help.
If in doubt, reprint a test page and adjust your settings before printing the full pattern.
Assembling Your Printed Pattern
Once your pattern is printed, it’s time to put it together! Here’s how to do it:
STEP 1
Trim the Margins. Some patterns have white borders. Trimming off one side of each page makes aligning the pieces easier.
STEP 2
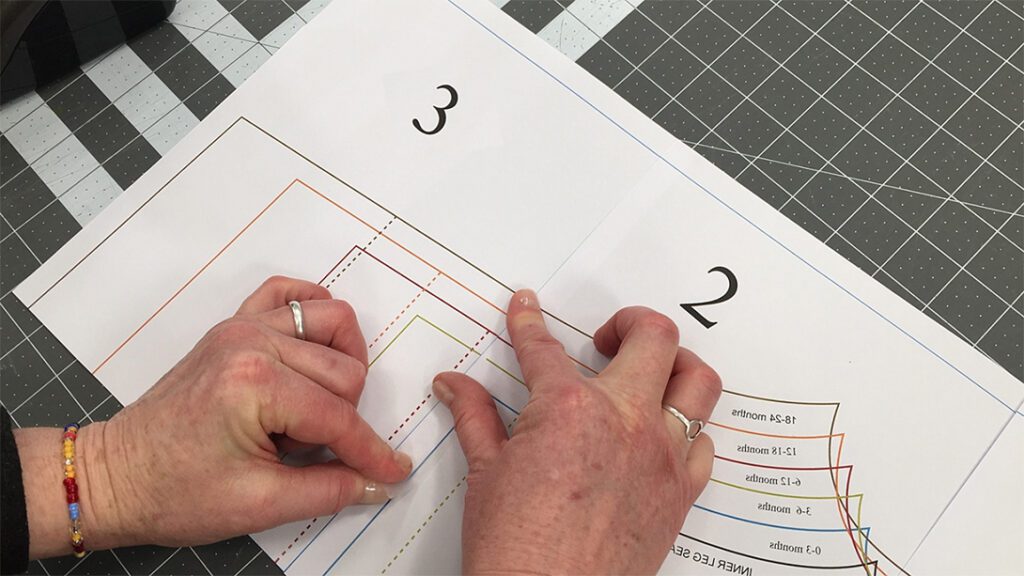
Match the Triangles. Small alignment triangles are printed along the edges of each page. These are your guide—line them up to ensure perfect placement.

STEP 3
Follow the Letter & Number Grid. Pages are labeled (A1, A2, B1, B2, etc.). Match them up like a map to get the correct layout.

STEP 4
Tape It Together. Start with the first row, then add rows one by one. Use clear tape or a glue stick for a secure hold.

Take your time with this step! A well-assembled pattern means easier cutting and accurate sewing.
Pro Tip: If you printed your pattern on A4 or US Letter paper, the A0 PDF file can be a great reference. Lay it out on your screen to see how the pieces fit together—it’ll make assembling your pattern much easier!
Storing Your Pattern for Future Use
You’ve put in the effort to print and assemble your pattern—now let’s store it properly so you can use it again and again.
- Roll it up and secure with a rubber band to prevent creases.
- Store it in a large envelope or ziplock bag and label it with the pattern name.
- Trace it onto sturdier paper for long-term use. This makes pinning and cutting easier in the future.
Keeping your patterns organized will save you time when you’re ready to sew again!
Looking for Your Next Sewing Project?
Your pattern is printed, assembled, and ready to go. Now it’s time to grab your fabric, thread that bobbin, and bring your design to life.
And if you’re already planning your next project (because let’s be honest, one is never enough), check out our latest sewing patterns at KittySewing.com. From timeless classics to trendy, modern designs, there’s always something new to create.
Happy sewing, and thanks for being part of the KittyPatterns community!
Frequently Asked Questions (FAQ)
1. Do I need to print my pattern in color, or is black and white okay?
Black and white works just fine! No need to waste your precious color ink—our patterns are designed to print perfectly in grayscale. As long as the lines are crisp and easy to see, you’re all set.
2. Help! My test square isn’t measuring 10 cm (3 15⁄16 inches). What went wrong?
No worries, this happens! First, check your printer settings:
- Make sure the scale is set to 100% or Actual Size (not “Fit to Page” or “Shrink to Fit”).
- Double-check that you’re printing on A4 or US Letter paper.
Still not right? Try again with those settings tweaked. That little test square is the key to making sure your whole pattern prints to the correct size, so it’s worth getting right!
3. I don’t have a printer at home. Can I still use your patterns?
Of course! You’ve got options:
- Local print shop – Download the A0 version and take it to a copy shop.
- Online printing services – Plenty of sites will print A0 patterns and ship them straight to your door.
Either way, you can still get your hands on your pattern without battling with a home printer.
4. Can I print on any paper size?
Our patterns are designed for A4 (international) or US Letter (North America), so stick to one of those for best results. If you’re using a different size, just double-check that the scale stays at 100% so the pattern pieces don’t shrink or stretch.
5. Do I need special software to print my pattern?
Yep! You’ll want to use Adobe Acrobat Reader (it’s free). Other programs—like Microsoft Word or web browsers—can mess with the formatting, which is a recipe for disaster. Acrobat Reader keeps everything exactly as it should be.
6. Do I have to trim the white borders before taping my pattern together?
It depends on the pattern. Some have overlapping edges, so you’ll need to trim one side to match them up perfectly. Others are designed to line up without trimming. Check the assembly guide on page one of your pattern—it’ll tell you what’s what.
7. Can I reuse my printed pattern?
Absolutely! If you think you’ll make the same design more than once (and let’s be honest, you probably will), try this:
- Trace the pattern onto tracing paper or Swedish tracing paper. This keeps your printed copy intact.
- Store it in a big envelope or ziplock bag. Label it so you can find it later without a wild goose chase.
- Roll it instead of folding if you hate creases as much as I do!
8. My printer cut off part of the pattern—what happened?
Good question! This usually means one of two things:
- Your printer settings might be set to “Fit to Page” instead of 100% scale (double-check that!).
- Your margins might be too small. If that’s the case, adjusting your page setup or choosing “Borderless Printing” can help.
9. Can I print directly onto fabric?
Technically, yes—some people do! If you have printable fabric sheets, you can give it a go. But for most sewing projects, it’s best to print on paper, trace your pattern, and then transfer it to fabric. That way, you can be more precise and reuse the pattern later.
10. Where can I find more patterns?
Right here at KittyPatterns! We’ve got a collection of beautiful, modern, and easy-to-follow sewing patterns, whether you’re making something cozy, stylish, or just plain fun. Check out our latest designs—you might just find your next favorite project!