
Making a reversible baby bib is a fun and practical project that’s perfect for gifts or everyday use! In this tutorial, I’ll show you how to create a Aaliyah two-piece bib with different fabrics on each side, making it easy to match with two outfits. Plus, it’s reversible, so you get two looks in one!
I’ve tried different patterns and sewing methods, and now I’m sharing all the tips and tricks I’ve learned along the way to help you avoid common mistakes and get a perfect result. Ready to dive in? Let’s get sewing!
MATERIALS REQUIRED
- 2 different woven cotton
- For the inside of the bib / the inner fabric: white/ivory woven cotton or woven absorbents such as terry cloth, fleece, or flannelette
- Round cotton cord for binding (2 pieces x 26 cm/10.23’’)
- Lace trim – 1 pieces x 20cm/7.87”
- Pencil/chalk Colour thread matching the fabrics
- Sewing machine
- Needles Ironing machine
- Scissors or rotary cutter
- Pins
RECOMMENDATIONS
- I usually use an inner fabric such as white or ivory woven cotton fabric, but for a higher absorption, you can use terry cloth, fleece, flannelette;
- I normally choose a more colorful print for the front side of the bib and a pale color or a simple print for the backside. The small prints are perfect for these bibs; the most suitable fabrics for these are: cotton, poplin, or linen;
- Wash and air dry the fabrics before working with them to avoid shrinking.
PATTERN PRINT INSTRUCTIONS
- You can easily print it at home, using A4 or US letter size paper
- To be sure you are printing at 100% scale, check the printer settings
- To check if the pattern was printed correctly, measure the square on the pattern to have 1 cm / 0.39” on each of the sides
- The seam allowance is 1 cm/0.39″, included in the pattern, and represented by a dotted line.
STEP 1
Choose your bib size, then print the PDF pattern and cut it along the solid lines
Iron the fabric to remove any wrinkles, lay it on a flat surface, and place the pattern onto your fabric
Use needles to attach them together, in case of using a thin type of paper and cut the fabric along with the pattern indications.
In case you transferred the pattern onto a thicker sheet, fix the pattern by hand or place a weight on it and draw the pattern on the fabric, then cut along the drawn line.
STEP 2
Cut the two pieces for the front side of the bib;
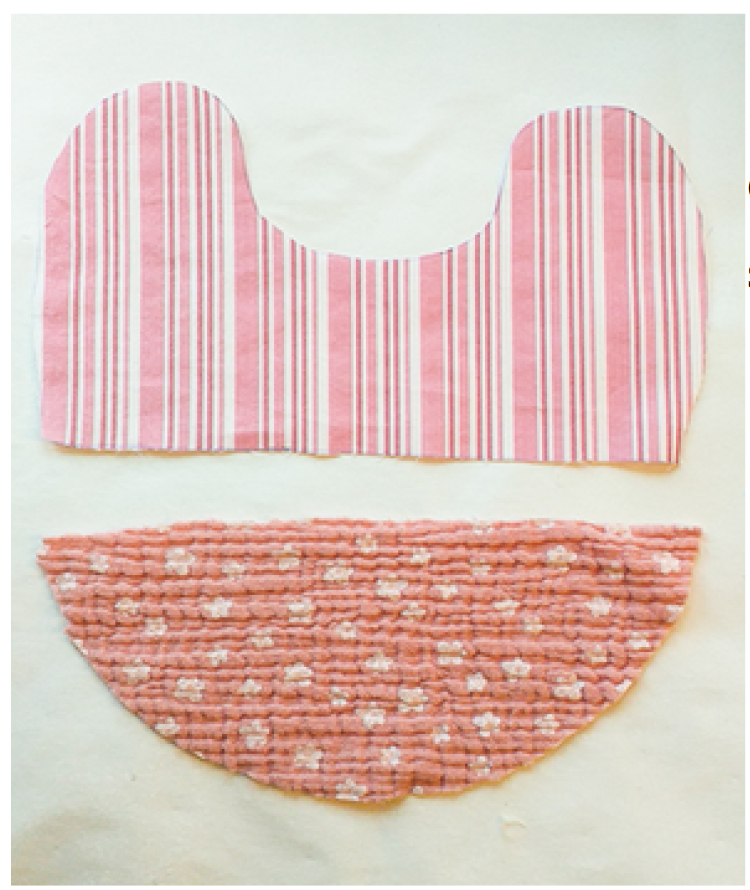
For the backside, you can use the same pattern, to make an identical piece or you can glue the two parts of the bib pattern to form a whole pattern. I recommend this way.
Take the top piece of the pattern and bend backward the “sewing reserve” and glue to the bottom part of the pattern;
Cut one piece for the back and one for the absorbent part (the inner fabric). If you prefer it more absorbent you can cut two layers.

STEP 3 – Making the lace ruffle for the front side bib
Lace can be of different widths, so I will try to exemplify below some sewing alternatives depending on the available lace trim and some tricks on how to get better results when you attach it to the fabric.
CASE 1: Wrinkling a narrow lace trim
Make one stitch along with the lace trim, setting the biggest step possible at the sewing machine. Let the thread from about 10 cm / 3.93” long ends, then pull it gently to start gathering the lace trim.
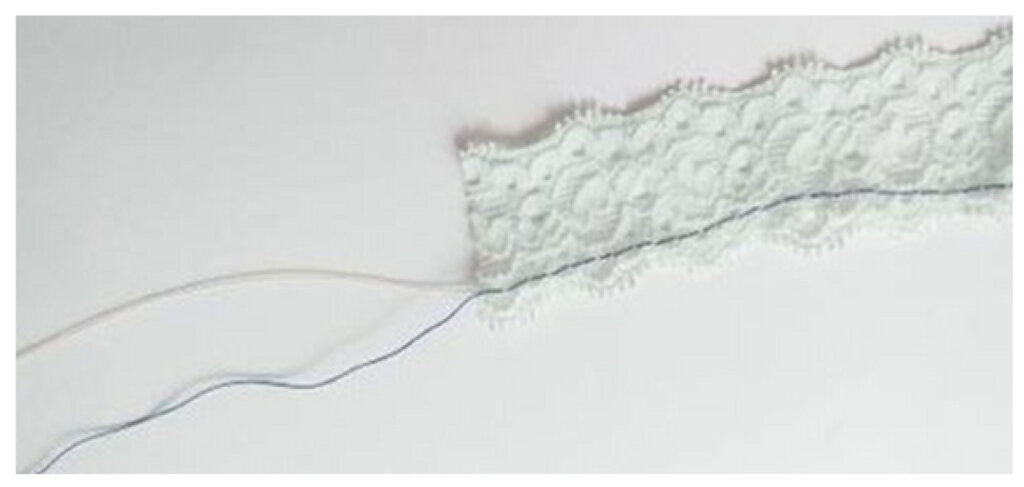
When you sew the lace on the fabric, try to position it so that the wrinkling stitch is about 1 cm / 0.39” distance from the edge and pin it in needles.
Sew exactly on that stitch or right below it, to obtain 1 cm / 0.39” seam allowance.
This way the stitch you made to wrinkle the lace is not visible when you turn the bib to the other side.
It doesn’t matter if the lace comes out of the edges, you will cut the excess at the end.
CASE 2: Wrinkling a widder lace trim
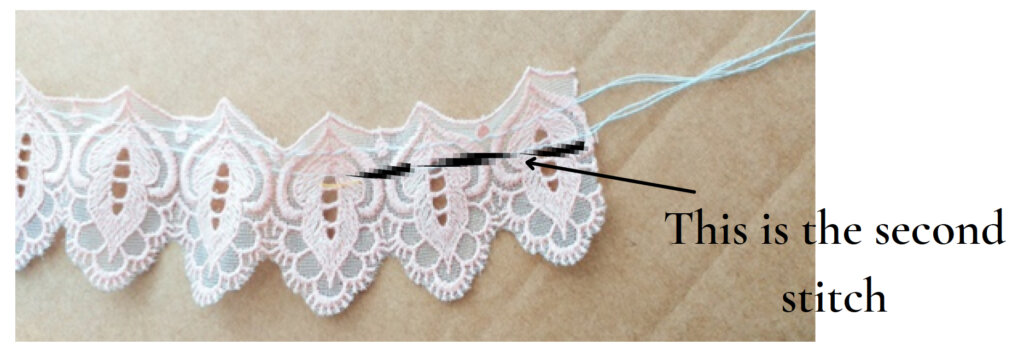
You can make two parallel stitches, at an approximately 1 cm / 0.39” distance from each other, using the biggest step possible at the sewing machine.
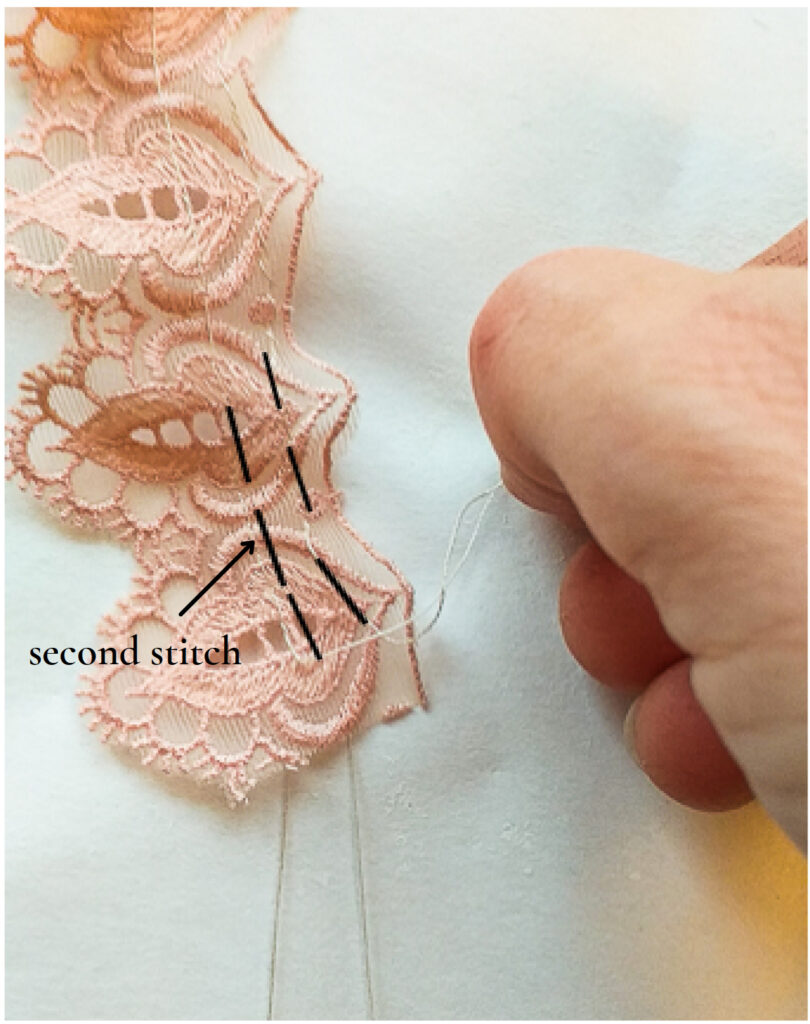
If you have a very wide lace, you have to decide how much lace you will leave out and how much of it you want to be seen after you turn it out. Thus, you will make the second stitch*, taking into account the fact that this will be the final edge/seam.
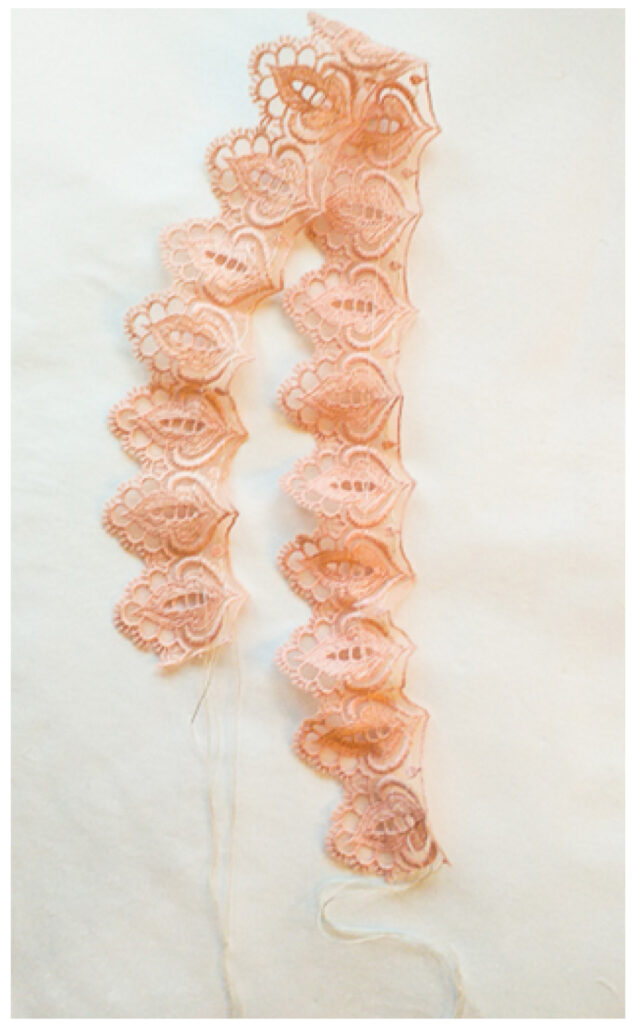
From one end, pull the two front threads found above, and from the other end, pull the two back threads found beneath, until the lace trim starts gathering.
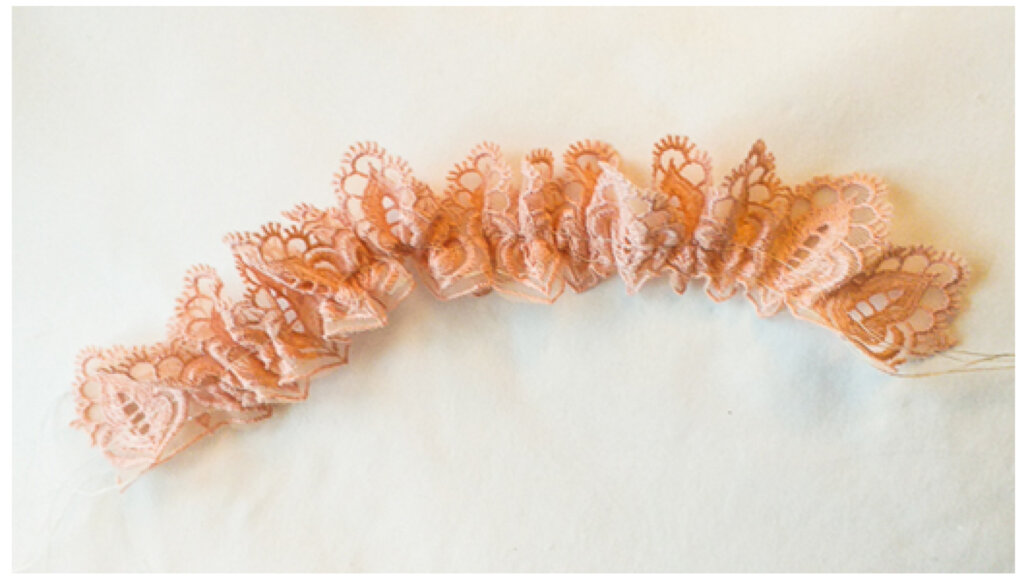
STEP 4 – Sewing the lace on the right side of the fabric
Take the bottom piece of fabric and position the ruffle to it, so that the second stitch is about 1 cm / 0.39” distance from the edge and pin it in needles;
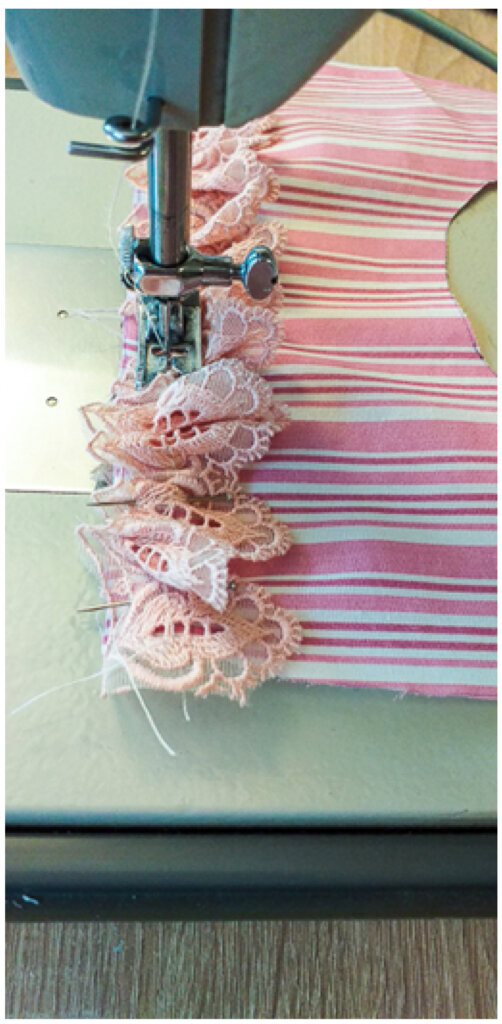
Sew exactly on the second stitch or right below it, to obtain 1 cm / 0.39” seam allowance.
• This way the seam you made to wrinkle the lace is not visible when you turn the bib to the other side.
• It doesn’t matter if the lace comes out of the edge, you will cut the excess at the end.
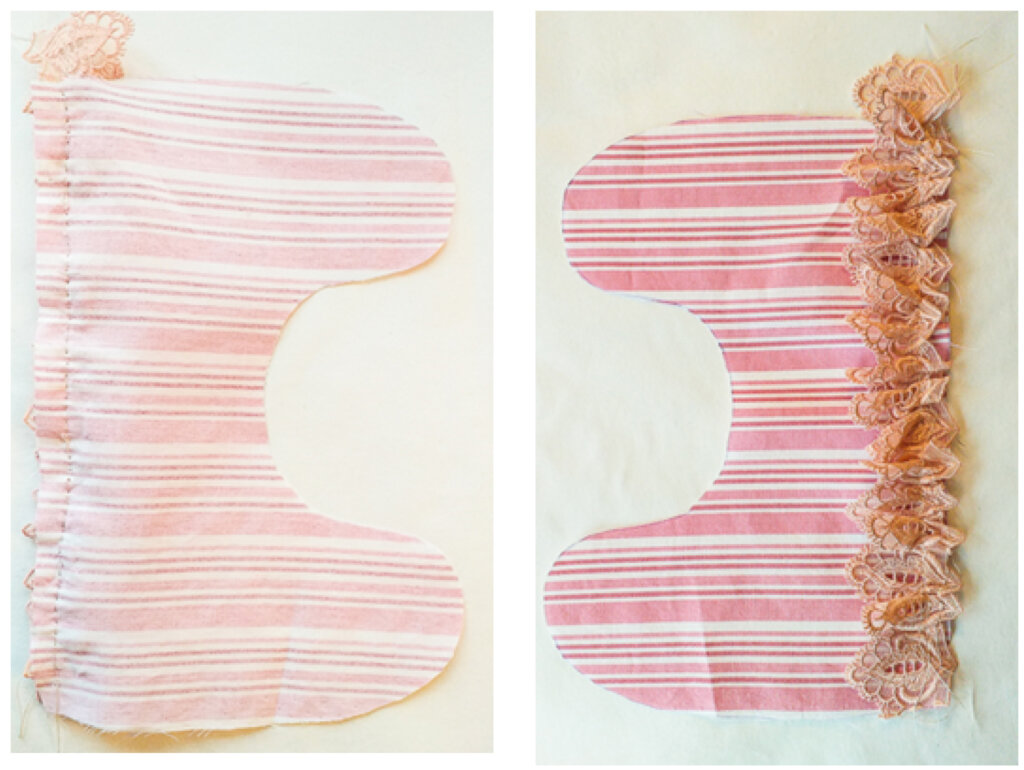
STEP 5
Now take the bottom piece of layer and place right side down to the top piece, so both right sides are facing each other.
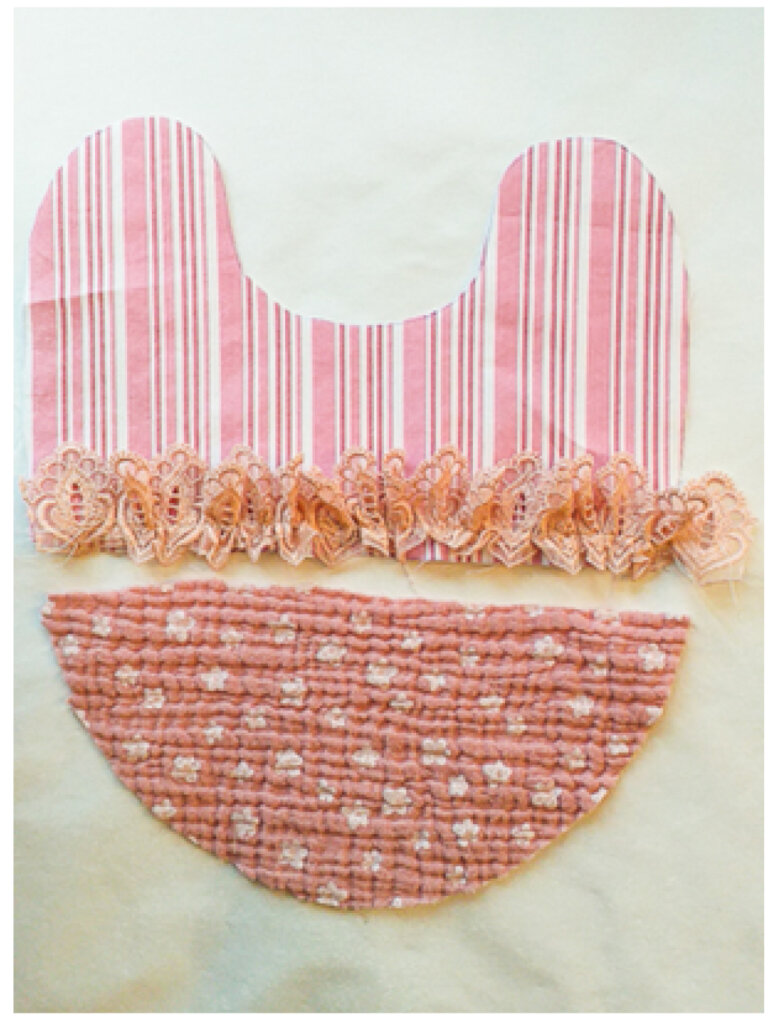
Pin in needles the two parts

STEP 6
Sew it using 1 cm seam allowance, on the stitch that you already made or right below to it, then cut the excess lace on the wrong side of the fabric.
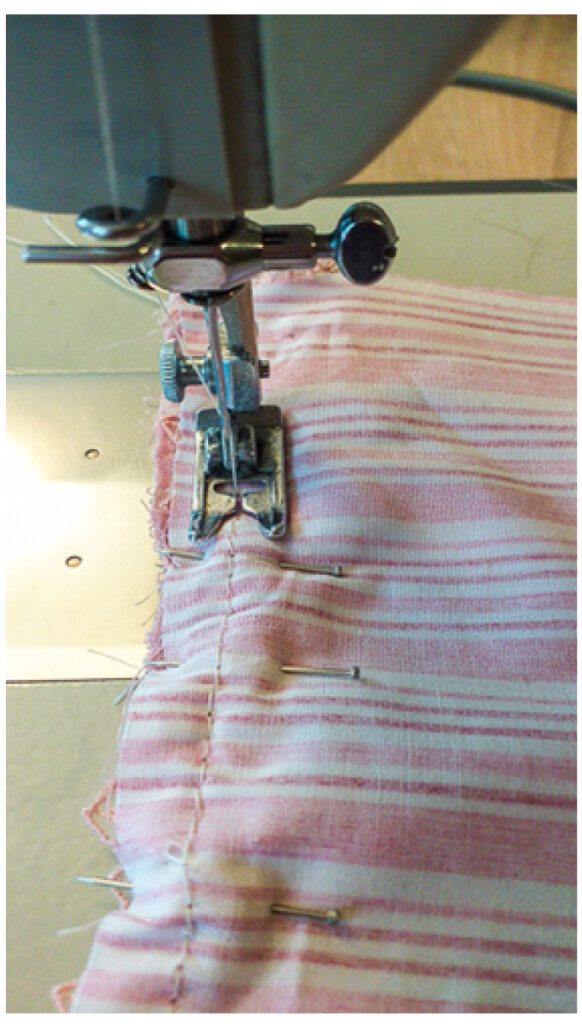
Now you have the front layer of the bib
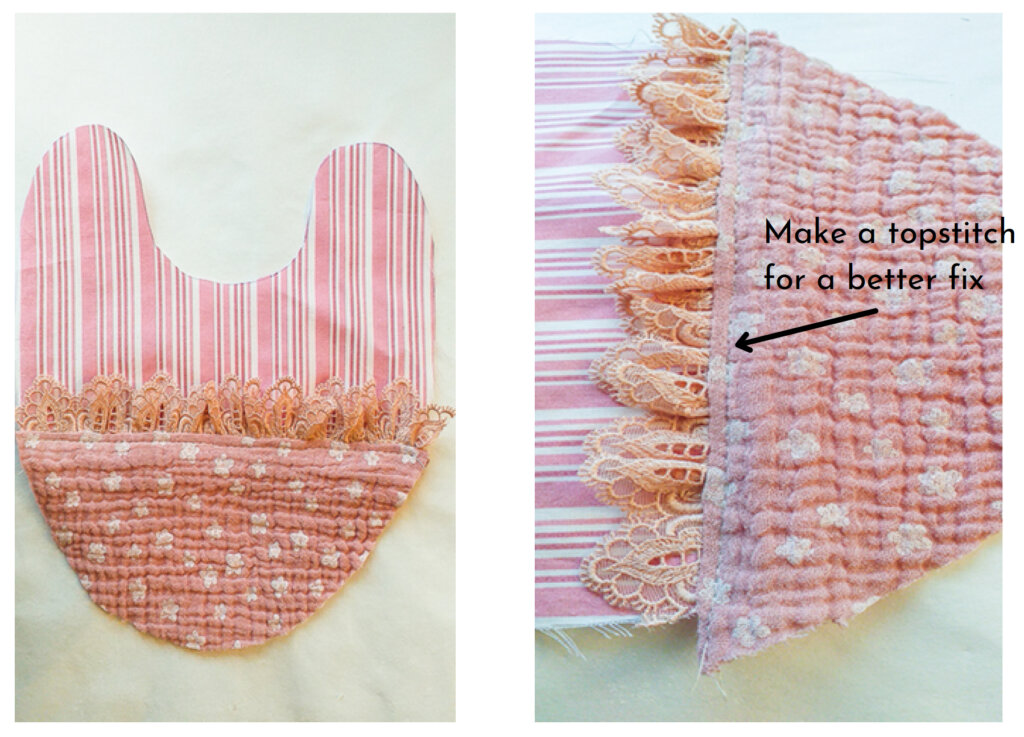
STEP 7
Arrange the cut pieces of fabric so that both right sides of the bib are facing each other.
First, place the absorbent layer, then put the right side of the second layer facing up and finally place the front piece of the bib on top, right side down.
Iron again to better place one fabric to the other. Pin them in needles all around.
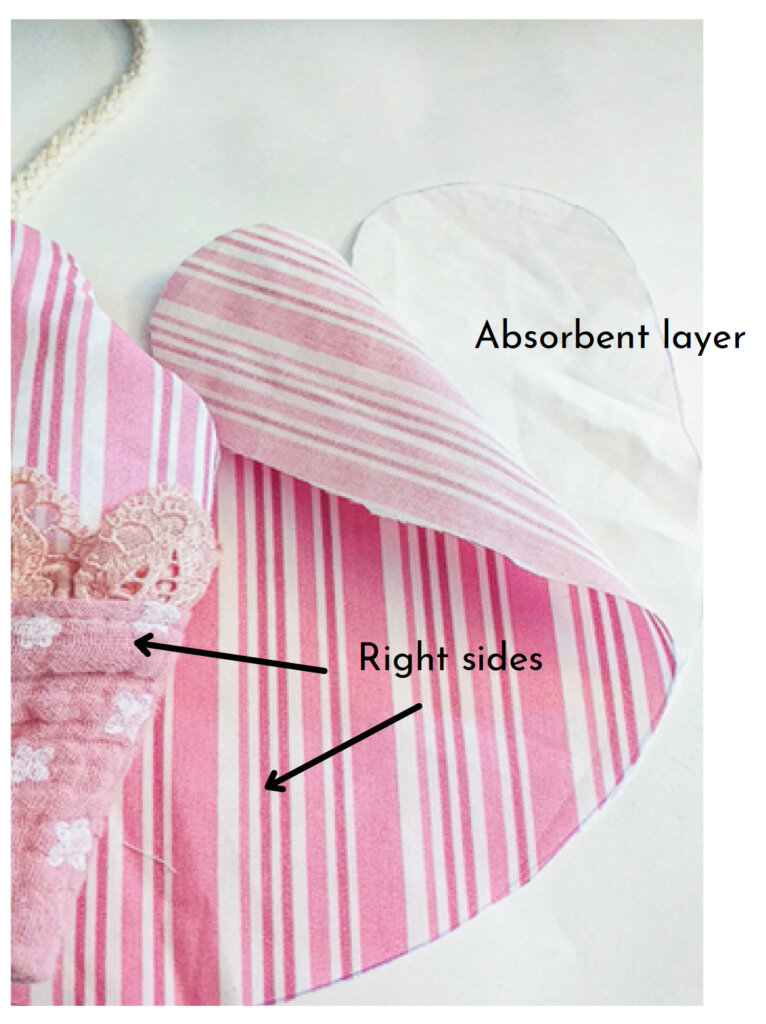
The cord must be placed between the two right sides of the bib.
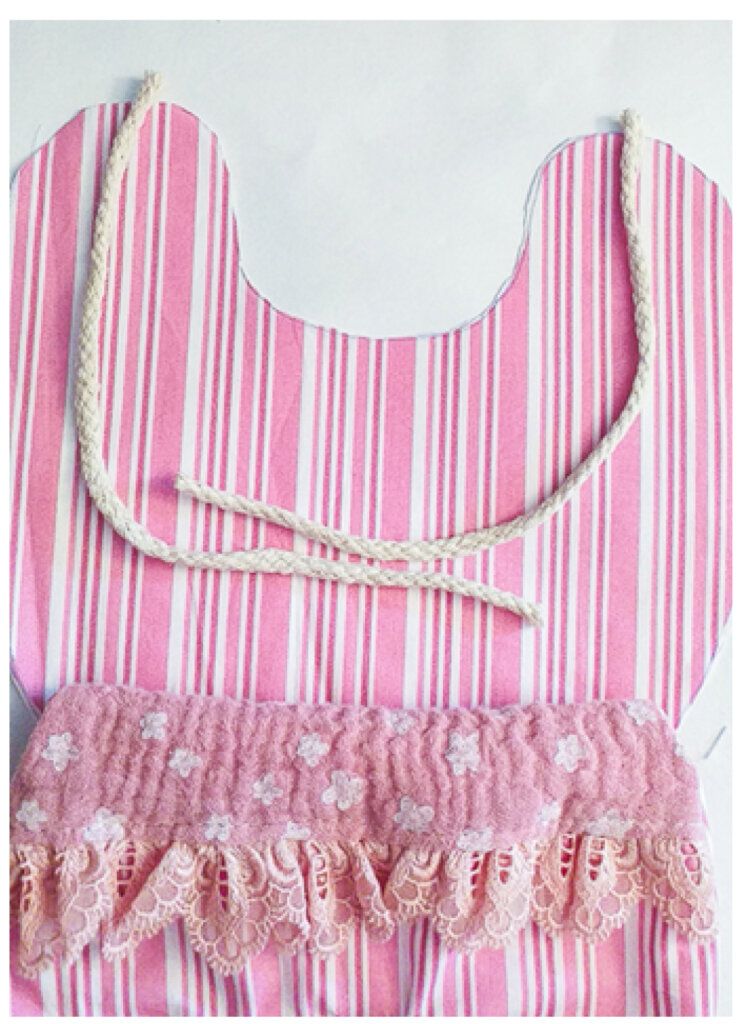
Pin it up with needles
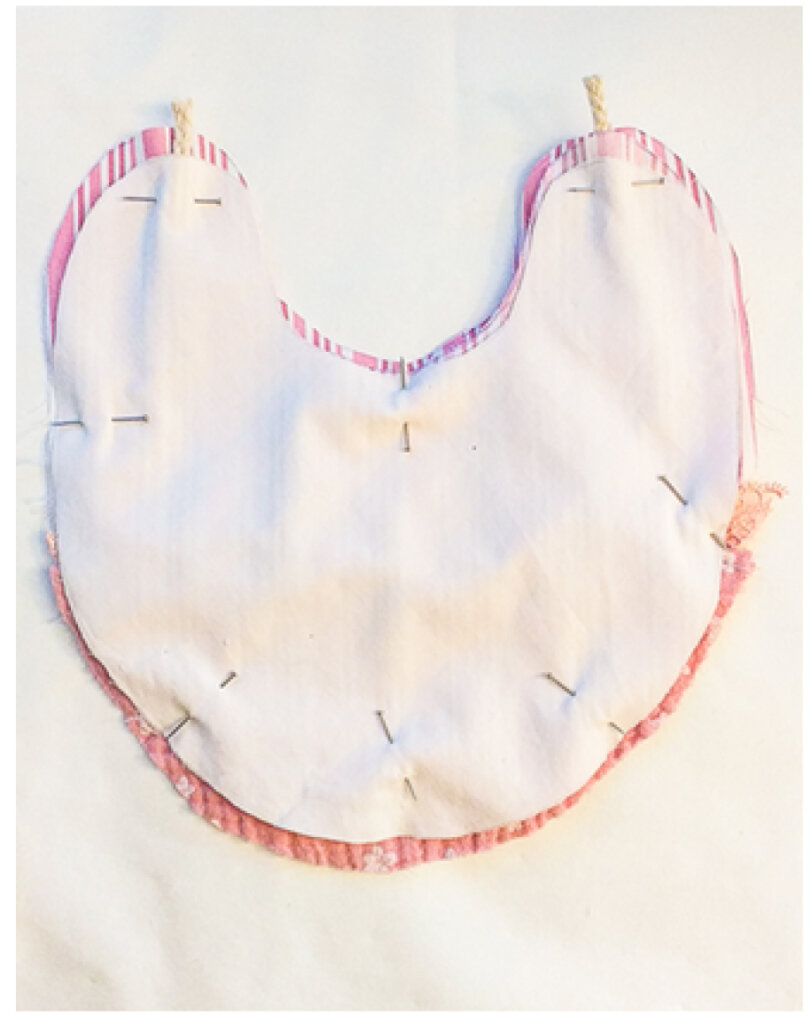
STEP 8
Sew it all around, leaving an unstitched portion, of about 7 cm / 2.75”.
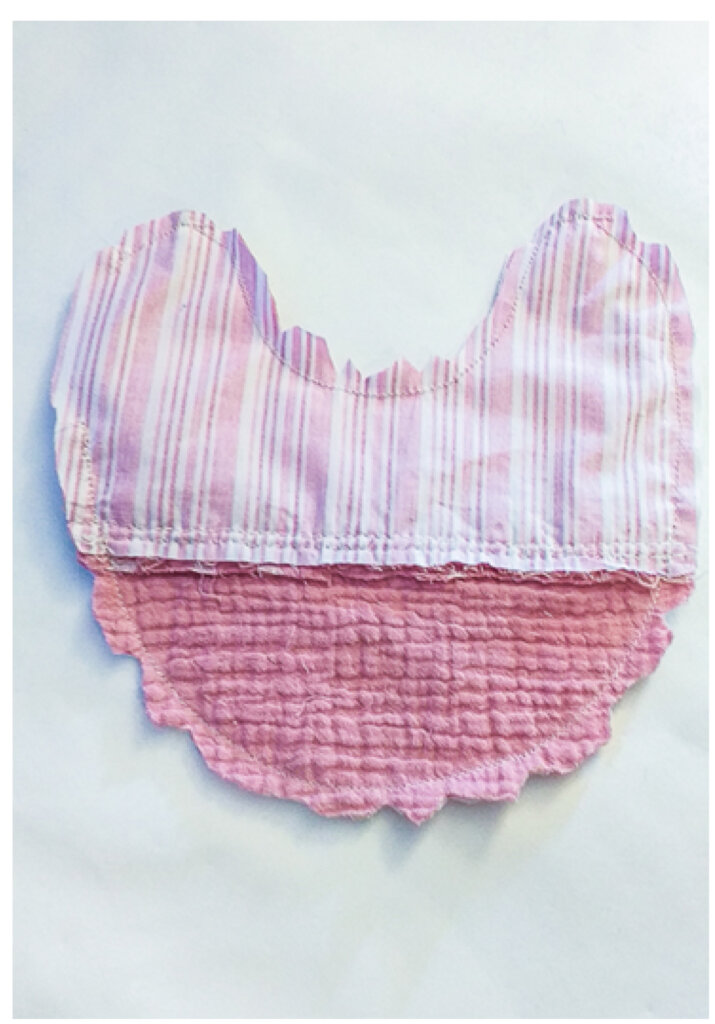
Strengthen near the cord/ties.
After you have finished sewing, trim down the same allowance on the absorbent piece of fabric (the inside part of the bib), close to the stitching line to reduce bulk.
STEP 9
Notch the seam allowance in the places where the seam is curved in order for it to look nicely.
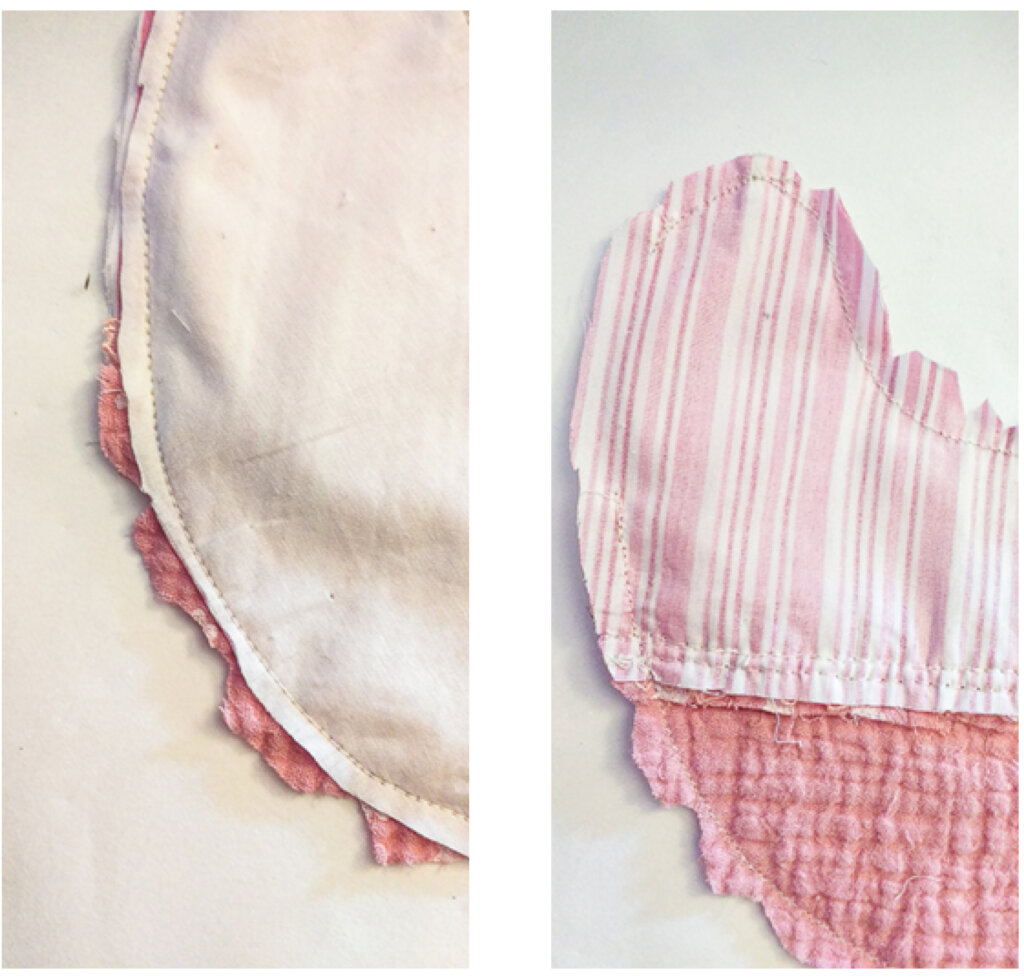
Turn your bib right side out through the opening, using a tool or a non-sharp object.
Press and iron to get flatten edges.
Make an “invisible” stitch, by hand, on the opening / the remaining unstitched portion, or you can fold the unstitched part inward and topstitch all the way around. Be careful to line up the two edges.
Sewing alternatives depending on the available fabrics
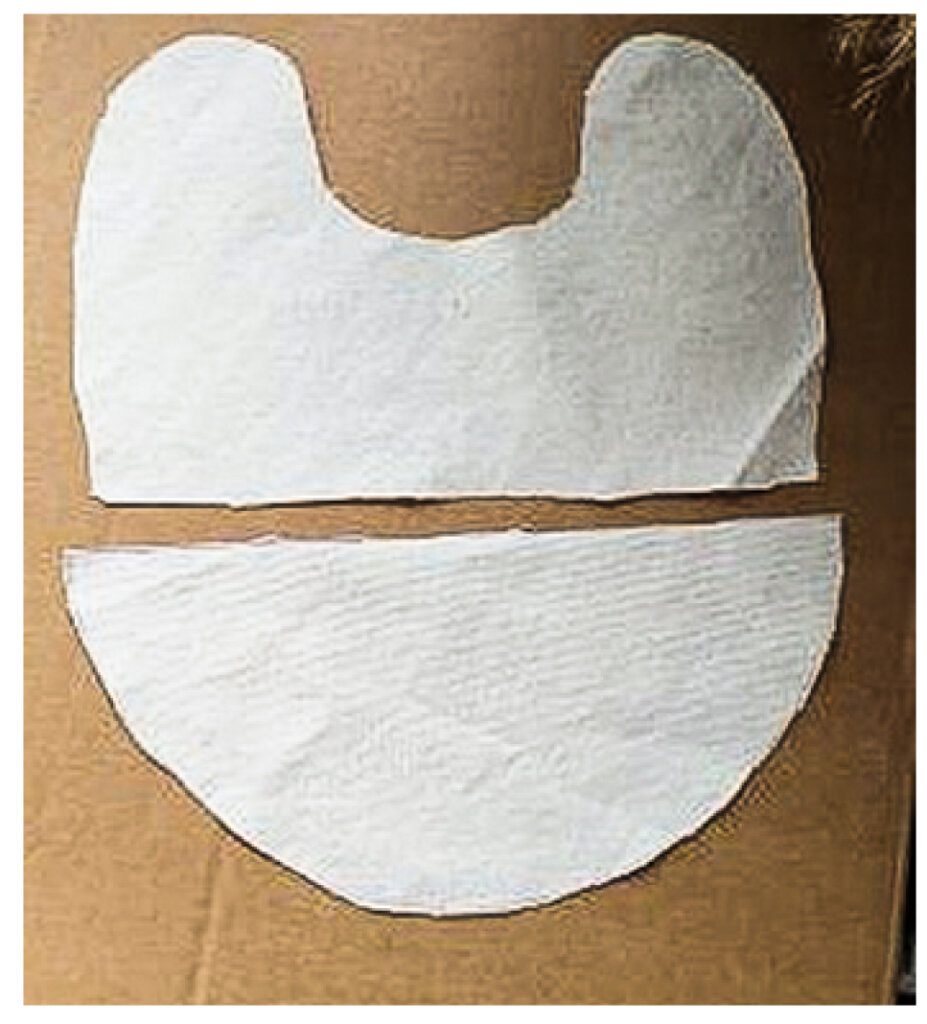
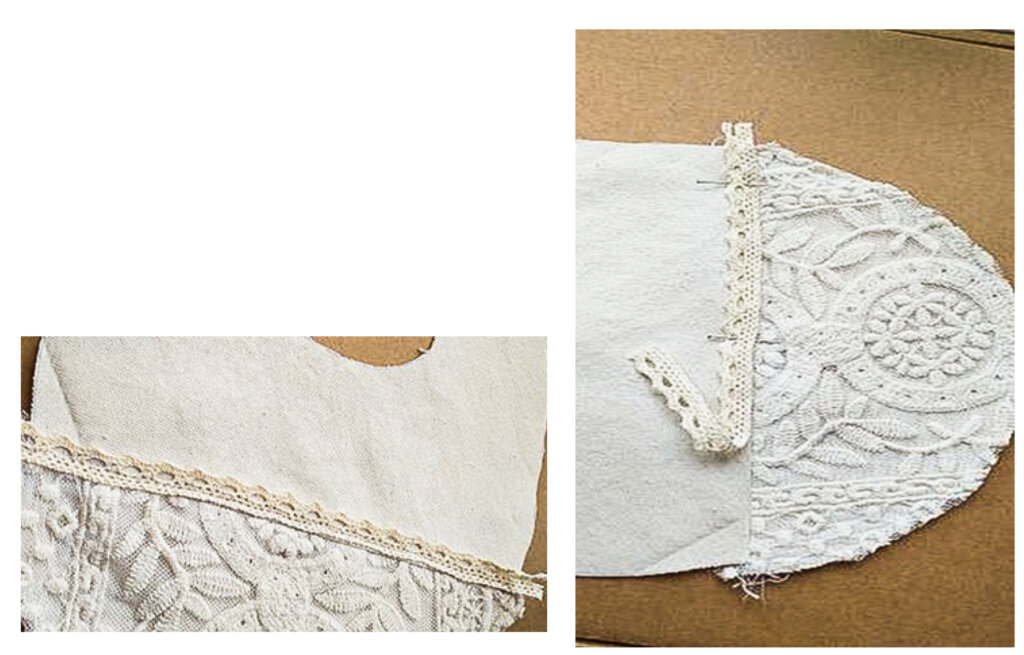
Cut two pieces for the front side bib (here I have a thicker fabric, a canva cotton, but you can use linen as well)
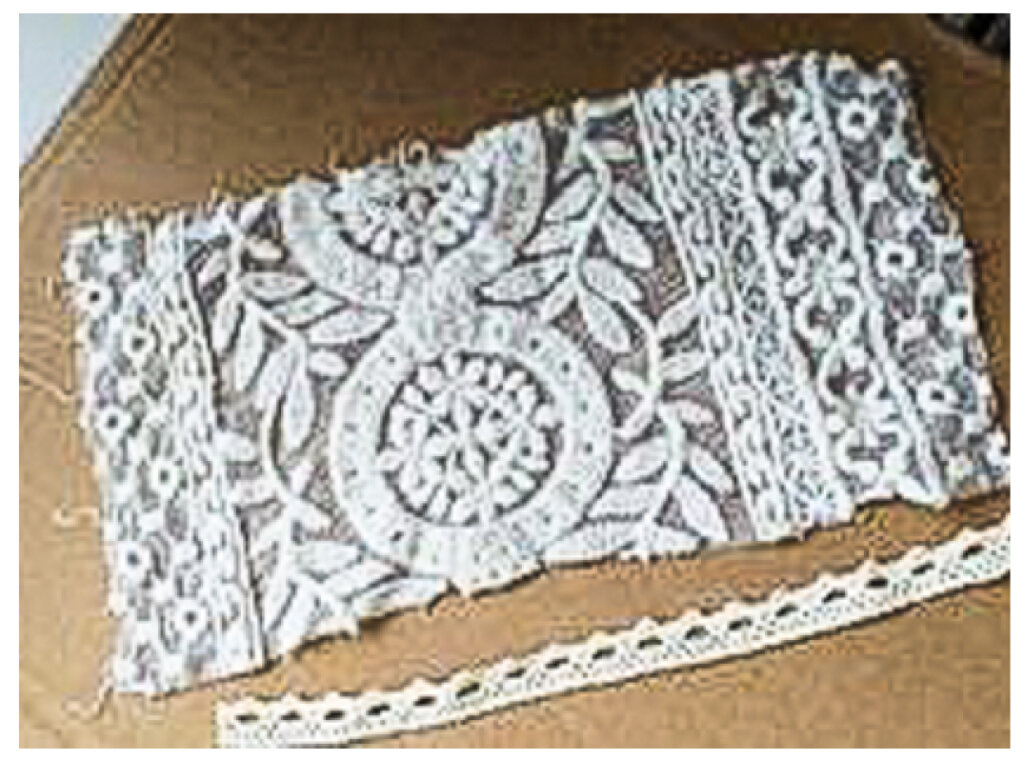
To create this type of bib you will need a piece of lace that covers the bottom piece of the bib (for about 10-11cm x 20 cm / 3.93”-4.33”x7.87”) and a narrow lace trim for about 10-11cm (3.93”-4.33”) long.
Sew the piece of lace to the right side of the bib, using a 0.5 cm seam allowance
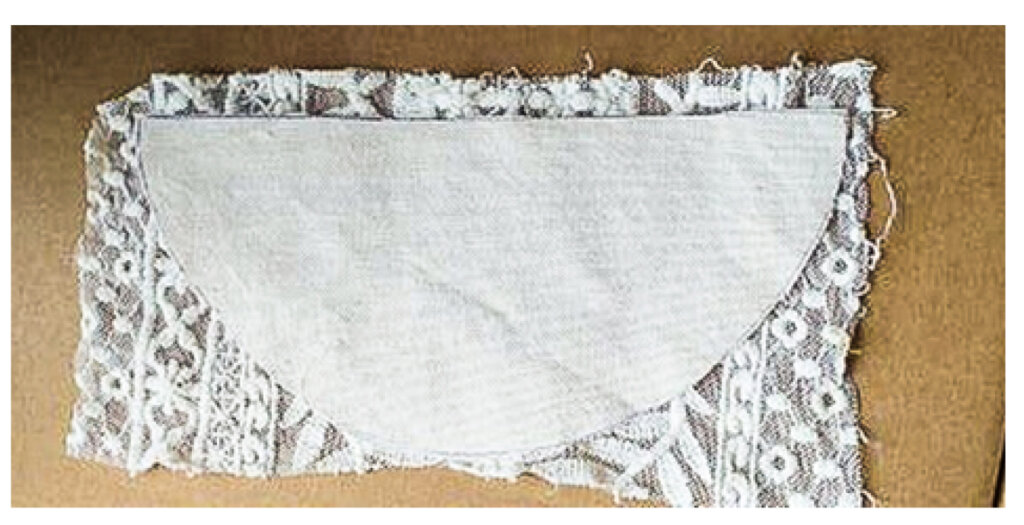
Cut the lace excess all around
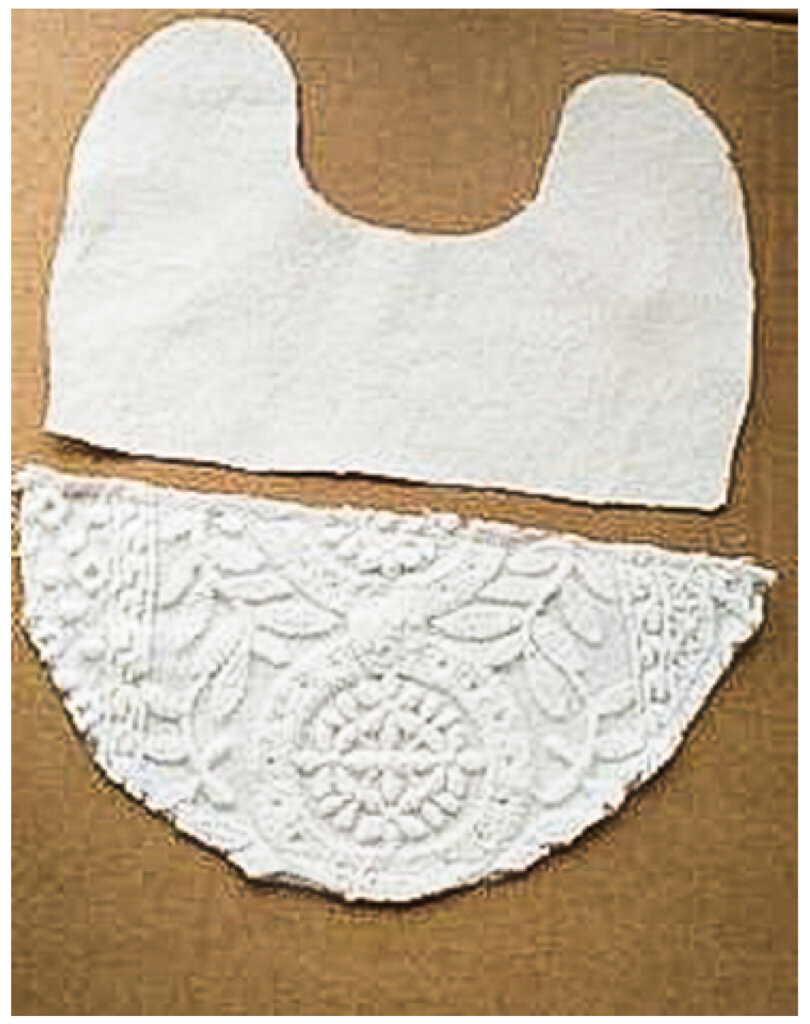
Place the two pieces right sides together and pin in needles

Make a stitch on the wrong side using a 1 cm seam allowance

Apply the lace trim on the right side of the fabric and sew it making a topstitch
This is the result, you have now the front side of the bib.
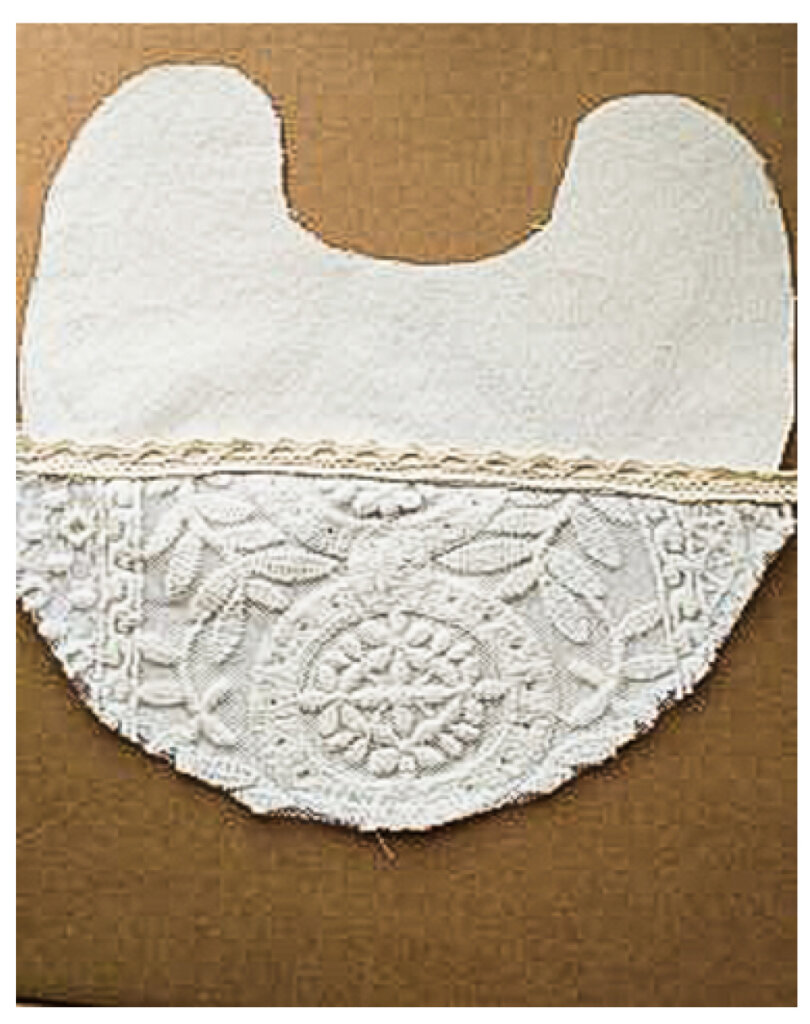
To finish the bib follow the steps described above.
FAQ – All Your Reversible Baby Bib Questions, Answered!
Do I really need to prewash my fabric?
Yep, and trust me, you don’t wanna skip this step. Fabrics shrink—sometimes a lot—after washing. If you sew your bib first and wash it later, you might end up with a weirdly wonky, too-small bib that even a doll would complain about. Just toss your fabric in the wash, air dry, and iron before cutting. Future-you will thank you!
What fabric works best for a super absorbent bib?
If your little one is a drool factory (no judgment, they’re adorable), go for terry cloth, fleece, or flannel on the inside. Regular woven cotton works fine, but if you’re constantly wiping up puddles of spit-up, you’ll want the extra absorbency.
Can I make a baby bib without a pattern?
Of course! If you have an old bib lying around, just trace around it, add a bit for seam allowance, and cut it out. No bib to trace? No problem. A simple U-shape about 10” x 12” with a neck hole works great. Handmade = no rules!
How do I stop lace from slipping all over when I sew it?
Lace can be slippery little trouble, but here’s the trick: Pin like crazy, baste it down first (if you’re feeling patient), or even use a dab of washable fabric glue to hold it steady. Oh, and if you have a walking foot, now’s the time to use it!
I don’t have a sewing machine—can I still make this bib?
100%! Grab a needle and thread and use a tight backstitch for the seams. It takes longer, but it’s kinda relaxing if you like slow sewing. Plus, hand-sewn stitches have that beautiful, one-of-a-kind look that machines just can’t copy.
What’s the best way to sew a reversible bib so it looks professional?
Here’s the game plan: Sew it right sides together, leave a small gap, turn it right-side out, then topstitch all around to close the opening and give it that crisp, polished look. Pressing with an iron is the secret sauce to making it look extra pro!
How do I make ruffles for a baby bib?
Ahh, ruffles—the fastest way to make something instantly cuter. Just sew a long stitch along your lace, don’t backstitch, and leave long thread tails. Then, pull one of the threads gently, and boom—ruffles! Pin ‘em down, sew ‘em in place, and you’ve got yourself a fancy bib.
What’s the best closure for a handmade baby bib?
It depends on your vibe! Cotton cord ties give it a classic, vintage feel. Snaps are secure and won’t scratch tiny necks. Velcro? Super easy, just make sure you pick a soft, baby-friendly kind.
How do I turn the bib right-side out without losing my mind?
That tiny opening can be annoying, but here’s a trick: Use a chopstick or the blunt end of a pencil to gently push out the edges. Works like magic. Then, press it flat and topstitch—it’ll look store-bought in no time.
How can I make my handmade bibs look super professional?
A few little things make a big difference:
✔ Press everything! An iron is your best friend for crisp seams.
✔ Use matching thread so your stitches blend in.
✔ Topstitch the edges for that high-end, polished finish.
Can I sell these bibs on Etsy or at craft fairs?
Absolutely! Handmade baby bibs are crazy popular in baby boutiques and on Etsy. Just make sure you’re using safe, washable materials and consider adding a cute branded tag or packaging. Bonus tip: Matching bib + burp cloth sets sell really well!


